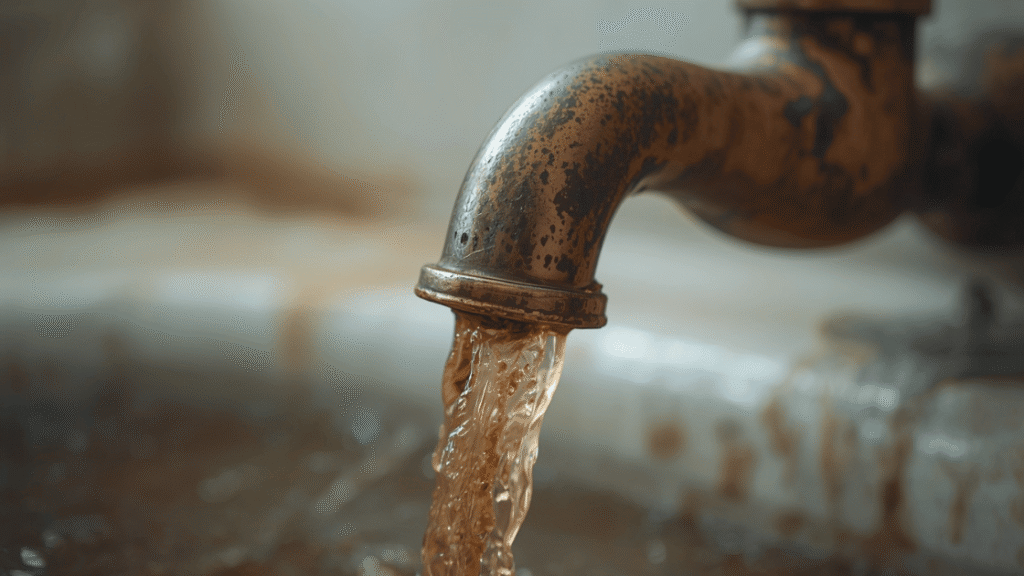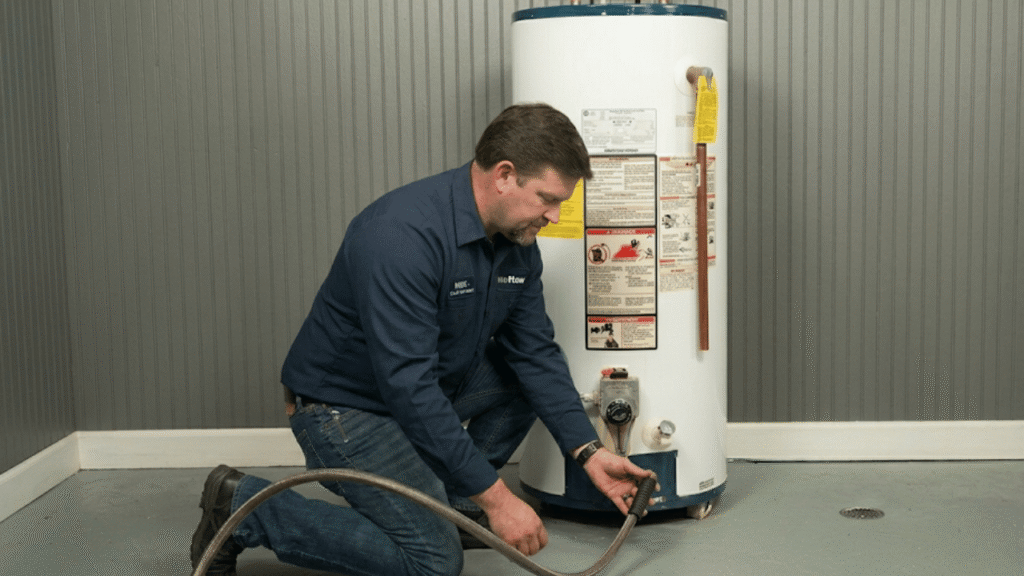
An underground water leak can waste thousands of gallons before you ever see it. The Environmental Protection Agency estimates that household leaks waste nearly 1 trillion gallons of water annually in the United States and a single underground leak can run continuously for months without obvious signs.
The good news? You don’t need expensive equipment to find most underground water leaks. With careful observation and a few simple household items, you can locate the source yourself in about an hour.
This guide walks you through 8 proven DIY methods to find an underground water leak without any specialized tools. We’ll cover what to look for, how to test each method, and when the situation needs a professional water leak detection service.
Before You Start: What You’ll Actually Need
You don’t need professional equipment for these methods. Here’s a list of common household items that work surprisingly well:
- A long flathead screwdriver (acts as a sound amplifier)
- A drinking glass (cup against the wall trick)
- A wooden dowel or metal rod (soil probe)
- A notebook and pen (to track water meter readings)
- A flashlight (for dark crawl spaces)
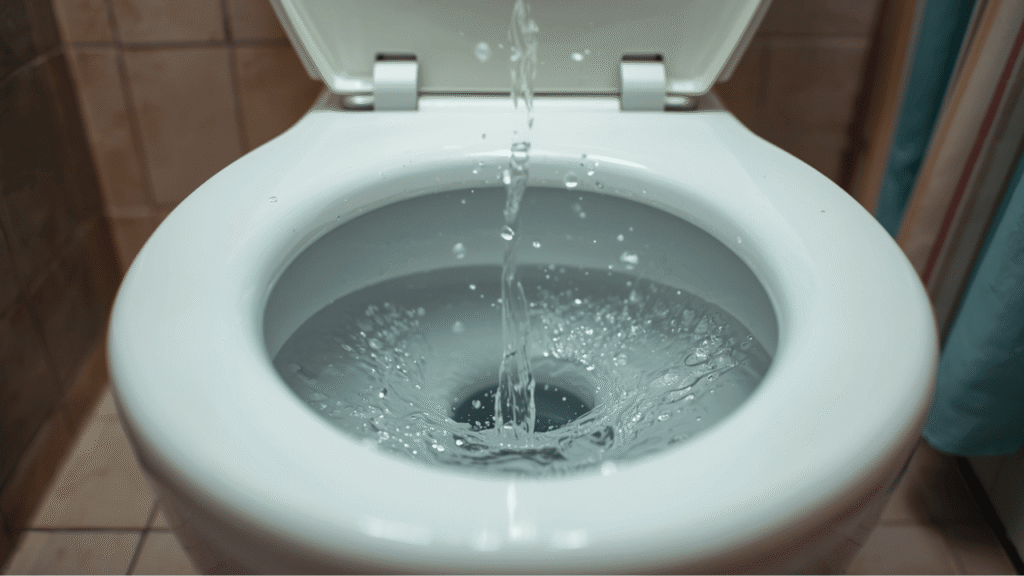
- Food coloring (toilet leak test)
- Old towels (for ground moisture testing)
- Comfortable shoes you don’t mind getting muddy
Total cost: $0 to $15 if you already own most of these.
Time required: 1 to 3 hours, depending on how many methods you try.
Difficulty level: Beginner-friendly.
Safety First
Before searching for a leak, take these precautions:
- Know where your main water shutoff valve is. This is usually near where the main line enters your home, often in the basement, garage, or near the water heater.
- Avoid digging blindly. Texas requires homeowners to call 811 before any digging, even on their own property. Hitting a gas or electric line is a serious hazard.
- Don’t enter standing water near electrical outlets or wiring.
- Watch for sinkholes. Long-running underground leaks can erode soil and create unstable ground.
Method 1: The Water Meter Test (Most Reliable)
This is the single most accurate DIY way to confirm an underground leak exists.
How to do it:
- Locate your water meter (usually near the curb in a covered concrete box).
- Turn off every water source in your home faucets, ice makers, washing machines, dishwashers, irrigation, pool fillers, water softeners.
- Find the leak indicator on the meter. It’s a small triangle, red disc, or star that spins when water moves.
- Note the meter reading exactly. Write it down.
- Wait 30-60 minutes without using any water.
- Check the meter again.
Results:
- If the indicator spun, or the reading changed ,You have a leak somewhere in your system.
- If nothing moved ,No active leak right now (though intermittent leaks may still exist).
This method tells you a leak exists. The next methods help you find where.
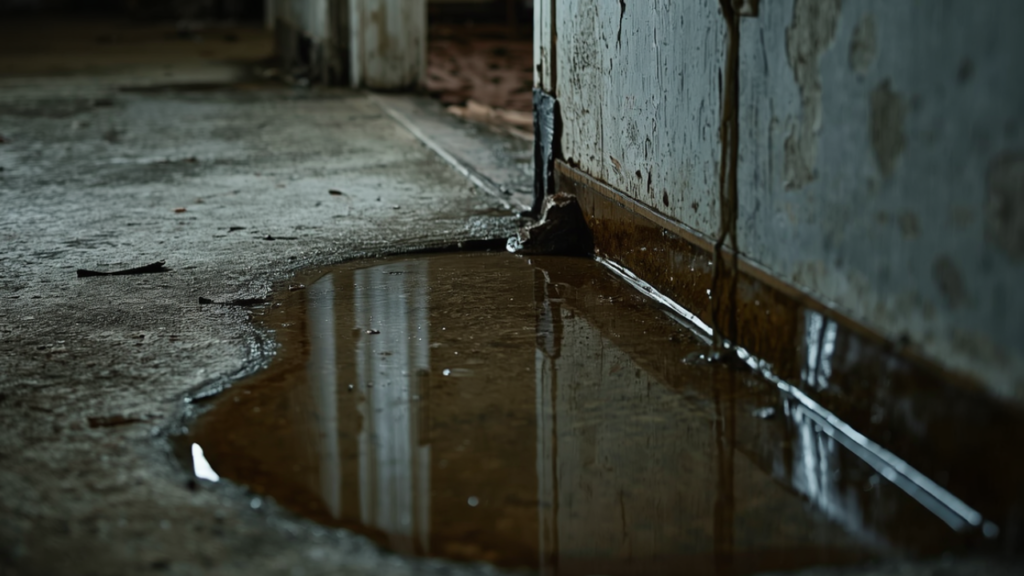
Method 2: Visual Yard Inspection
Walk your property slowly and look for these telltale signs of an underground water leak:
- Patches of unusually green or fast-growing grass. A constant water source acts like fertilizer.
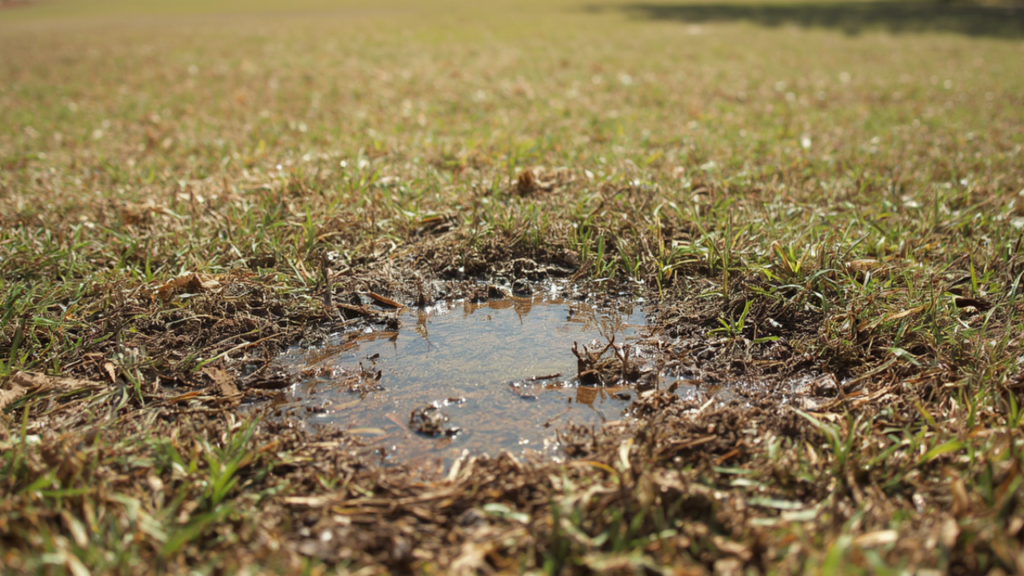
- Wet or soggy spots in dry weather, especially in areas away from sprinklers.
- Sunken or soft soil that feels spongy underfoot.
- Mushrooms or unexpected plant growth in lawns or flower beds.
- Moss growing on driveways, sidewalks, or foundation walls.
- Cracks in pavement or concrete following a roughly straight line (often the path of a buried pipe).
- Pooling water along the foundation or in landscape beds.
- Discoloration on driveways or sidewalks where water seeps up from below.
Pro tip: Check after several dry days. Soggy spots that persist in dry weather are nearly always leaks. In North Texas, Dallas County clay soil holds moisture longer than sandy soils, so wet patches stay visible for days.
Method 3: The Screwdriver Stethoscope
Underground water leaks make a hissing or running sound. You can hear it using nothing but a long screwdriver.
How to do it:
- Press the metal tip of a long flathead screwdriver firmly against the ground above where you suspect a buried pipe (usually a straight line from the meter to the house).
- Press your ear against the plastic handle of the screwdriver. Do not touch the metal it conducts sound poorly through skin.
- Listen for a hissing, whooshing, or steady whistling sound.
- Move along the suspected pipe path in 3-foot increments. Listen at each spot.
- The loudest point is usually directly above the leak.
This works because metal conducts sound vibrations from the leak straight to your ear. Plumbers use a specialized version called a “sound stick,” but a screwdriver works for most residential leaks.
Method 4: The Glass Cup Trick (Indoors)
If you suspect a leak under your foundation slab or inside a wall, a regular drinking glass works as an amplifier.
How to do it:
- Place the open end of a glass cup against the wall or floor.
- Press your ear to the closed bottom of the glass.
- Listen for hissing, gurgling, or dripping sounds.
- Move the glass in 1-foot patterns until you find the loudest spot.
Slab leaks (leaks in pipes running under your home’s concrete foundation) often make sounds you can hear with this method. If you suspect this, our guide on slab leak detection explains the signs in more detail. Foundation cracks combined with hot spots on the floor are common warning signs see our piece on foundation cracks and slab leaks for related symptoms.
Method 5: The Hot Spot Walk (Best for Hot Water Line Leaks)
Hot water pipes that leak underground or under a slab create warm spots in your floor or yard.
How to do it:
- Walk barefoot across your yard or floor on a cool morning.
- Pay attention to temperature changes underfoot.
- Unusually warm patches in your floor (especially concrete slab homes) suggest a hot water line leak.
- Warm or steaming spots in your yard during cool weather indicate a buried hot water line leak.
This method is especially effective in Texas during November-March when ambient ground temperatures drop. A hot water leak stands out clearly.
Method 6: The Soil Probe Test
A simple wooden dowel or metal rod can help you find leaks by detecting saturated soil.
How to do it:
- Take a 3- to 4-foot wooden dowel or thin metal rod.
- Press it firmly into the soil along the suspected pipe path.
- Note resistance saturated soil is much softer than dry soil.
- Mark spots where the rod pushes in noticeably easier.
- The softest patch is often directly above or near the leak.
Be careful not to push the rod down so hard that you damage the pipe itself. A few inches of penetration is enough to test soil density.
Method 7: Water Bill Detective Work
Your water bill can reveal a hidden leak you’ve never seen. Pull out your last 6 months of bills and compare:
- Sudden spike in usage without a lifestyle change suggests a leak.
- Gradual upward creep over months may indicate a slowly worsening leak.
- Bills 50% higher than the same month last year are a major warning sign.
The American Water Works Association notes that a moderate underground leak can waste 10,000+ gallons per month. If your bill jumped by $20-$50 with no explanation, an underground leak is the likely culprit.
Method 8: The Foundation Perimeter Check
Walk slowly around your home’s foundation. Look for:
- Water stains on the exterior foundation
- White chalky deposits (efflorescence) on concrete sign of water passing through
- Crumbling brick mortar at ground level
- Wet patches that don’t dry between rains
- Termite tubes (these insects are attracted to moisture from leaks)
- Foundation cracks that have appeared or grown recently
In Dallas-Fort Worth, the combination of clay soil and underground leaks can cause foundation movement — making this check especially important for older homes. If you discover root damage signs, our guide on how to fix root problems in drain pipes covers related issues.
Common Mistakes to Avoid
Even careful homeowners make these mistakes when hunting for underground leaks:
- Forgetting to turn off everything. A running ice maker or irrigation valve will spin the meter and fake a leak signal.
- Confusing condensation with leaks. AC units, water heaters, and pool equipment all create moisture that isn’t a leak.
- Assuming a wet spot means the leak is directly underneath. Water travels along the path of least resistance a leak 20 feet away can surface where the ground slopes lowest.
- Digging without calling 811. Even on your own property, hitting buried utilities is dangerous and may be illegal.
- Ignoring small leaks. A drip that wastes a gallon a day is also eroding your foundation soil. Small leaks become big leaks.
- Testing only once. Run the meter test 2-3 times across different days. Intermittent leaks (caused by pressure fluctuations) may not appear every time.
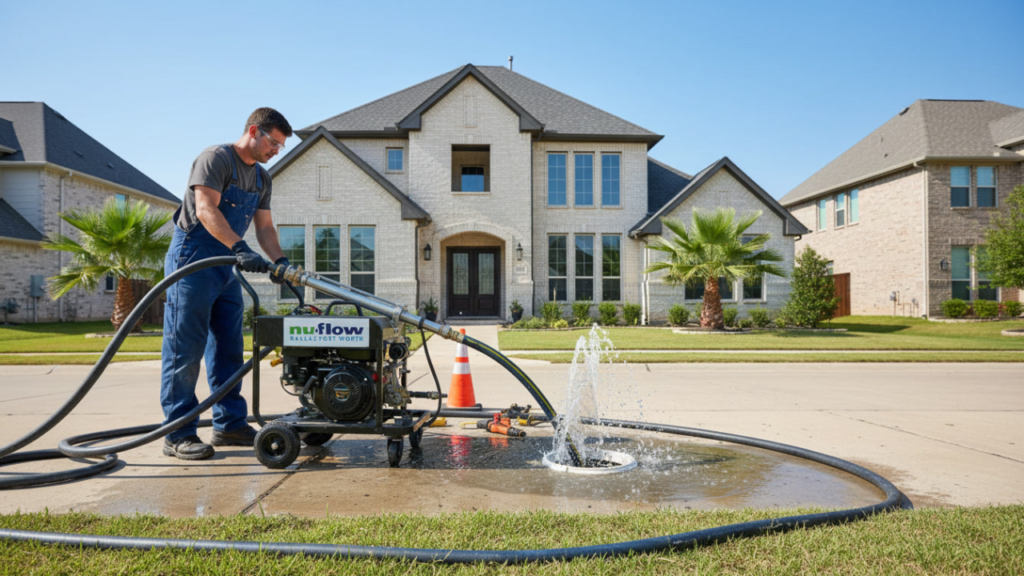
When DIY Methods Aren’t Enough
DIY detection works well for active, moderate-flow leaks. However, several situations require professional leak detection equipment and expertise:
Hidden Leaks Beyond DIY Detection
- Pinhole leaks in copper pipes too small to make audible sound but still cause damage over time
- Slab leaks deep under foundations beyond reach of screwdriver method
- Leaks under driveways, patios, or pool decks visual signs are masked
- Leaks in pressurized irrigation systems may only leak under certain pressures
- Sewer line leaks these don’t show on your water meter (they’re on the drain side)
Health and Safety Concerns
Stop DIY work and contact a licensed plumber immediately if you discover:
- Sewage smell with the wet patch (broken sewer line, not water line)
- Discolored or contaminated-looking water seeping up
- Foundation cracks growing wider rapidly
- Sinkholes or visible cavities forming in your yard
- Gas smell anywhere near the suspected leak
- Wet ground near electrical infrastructure
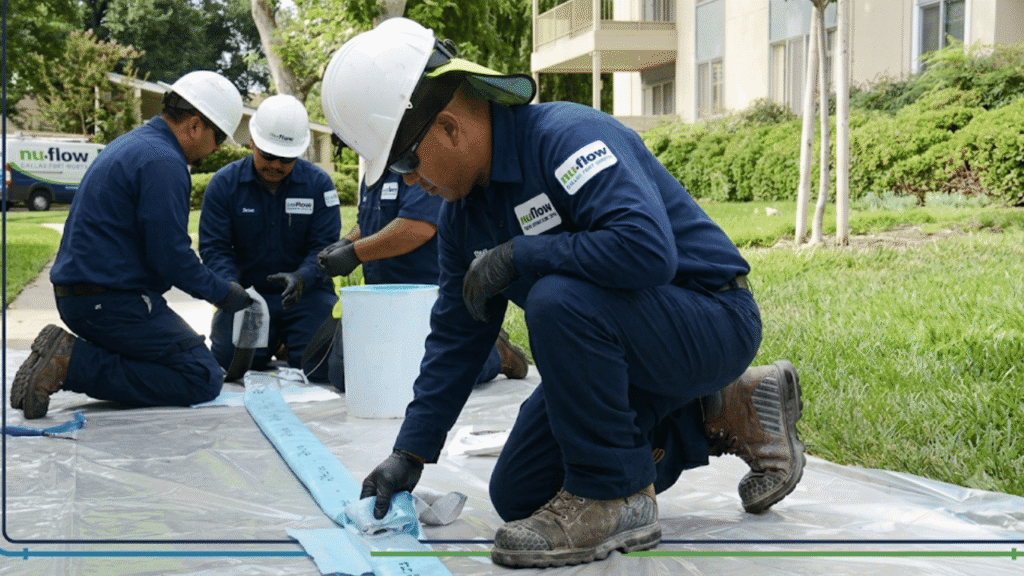
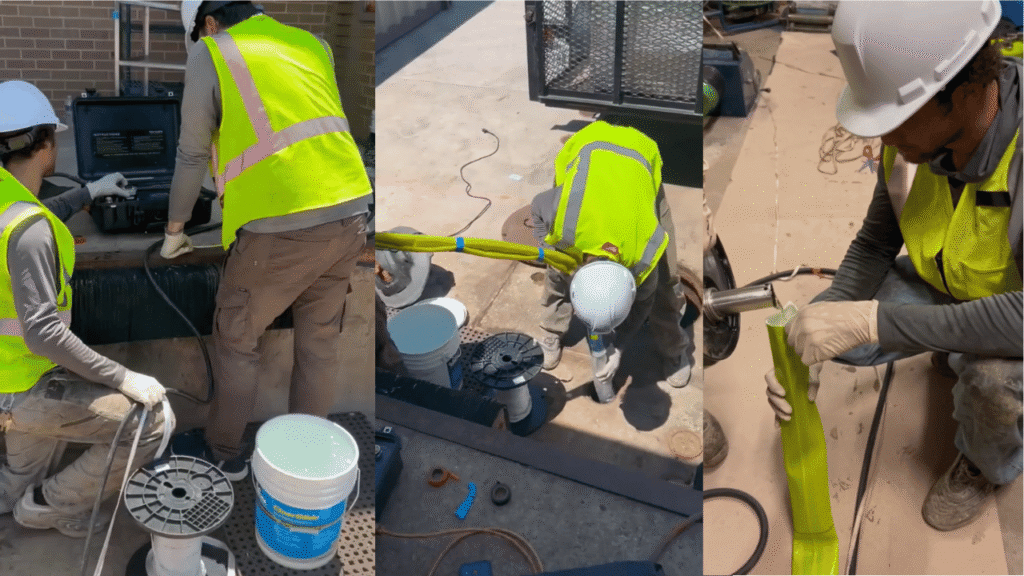
In these cases, professional water leak detection uses acoustic sensors, thermal imaging, and tracer gases that go far beyond what’s possible with household items.
Cost Comparison: DIY vs Professional
| Approach | Cost | Best For |
|---|---|---|
| DIY methods only | $0-$15 | Confirming a leak exists, narrowing location |
| Professional leak detection | $300-$600 | Pinpointing exact location |
| Repair (after detection) | Varies | Fixing the leak |
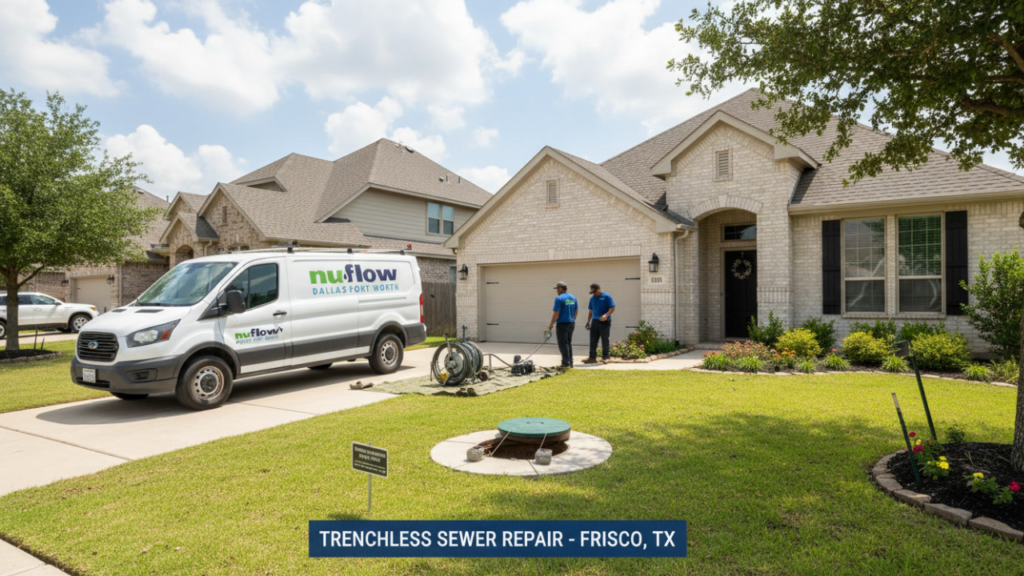
Many homeowners use DIY methods first to confirm a leak exists, then call a professional to pinpoint the exact location before digging. This combination saves money compared to letting a plumber start from scratch.
Frequently Asked Questions
What tools do I need to find an underground water leak?
You can find most underground leaks with household items: a long flathead screwdriver (sound amplifier), a glass cup (wall stethoscope), a wooden dowel or metal rod (soil probe), a notebook (for water meter readings), and a flashlight. Total cost is usually under $15, and most homeowners already have everything except possibly the dowel.
How long does it take to find a water leak underground without equipment?
The water meter test takes about one hour. A complete DIY investigation including visual inspection, sound testing, and soil probing typically takes 2-3 hours. If you’re searching a large property, plan on a half day.
Can a beginner safely find an underground water leak?
Yes most DIY methods are safe and beginner-friendly. The main safety rules are: never dig without calling 811 first, avoid standing water near electrical sources, and don’t enter unstable soil that might collapse. If you’re unsure about anything, stop and consult a licensed plumber.
What if my DIY attempt fails to find the leak?
If your water meter confirms a leak but you can’t find the location after trying these methods, the leak is likely in a hard-to-reach spot: under a slab, deep underground, or in a pressurized system that only leaks intermittently. At that point, professional leak detection equipment (acoustic listening devices, thermal cameras, and tracer gas systems) becomes necessary.
When should I call a professional instead of DIY?
Call a professional if: (1) your water meter shows a leak but you can’t find it after 2-3 hours of searching, (2) you discover signs of a slab leak (warm spots on floor, foundation cracks), (3) the suspected leak is under a driveway or other expensive surface, or (4) you smell sewage or gas anywhere near the suspected leak.
Will DIY leak detection void any plumbing warranties?
DIY detection doesn’t void warranties you’re not modifying anything, just observing. However, DIY repairs on plumbing systems may void manufacturer warranties on fixtures and may violate Texas plumbing code, which requires licensed plumbers for most underground pipe work. Detection: fine. Repair: leave to a pro.
How much money can I save by finding the leak myself versus hiring someone?
Professional leak detection in DFW typically costs $300-$600. If you locate the leak yourself first, you can often skip this step and go directly to repair, saving the detection fee. However, if professional detection prevents an unnecessary or wrongly-targeted dig (which can cost thousands), the fee pays for itself many times over.