To use a plunger effectively, match the plunger to the drain, fill the cup with water instead of air, set the seal with a gentle first push, and then make the pull stroke do the work. Most clogs clear in 15 to 20 pumps over two or three rounds. The single biggest mistake is pushing as hard as possible, which packs the clog tighter instead of freeing it.
Here is a number that surprises people: most homeowners plunge wrong, and not slightly wrong. They grab whatever plunger is behind the toilet, jam it in, and pump like they are drilling for oil, then wonder why the water keeps rising. The technique that actually works is almost the opposite of instinct, and it is different for a toilet than for a sink or shower. This walks through each one step by step, plus the fixes for when plunging is not working.
First, Make Sure You Have the Right Plunger
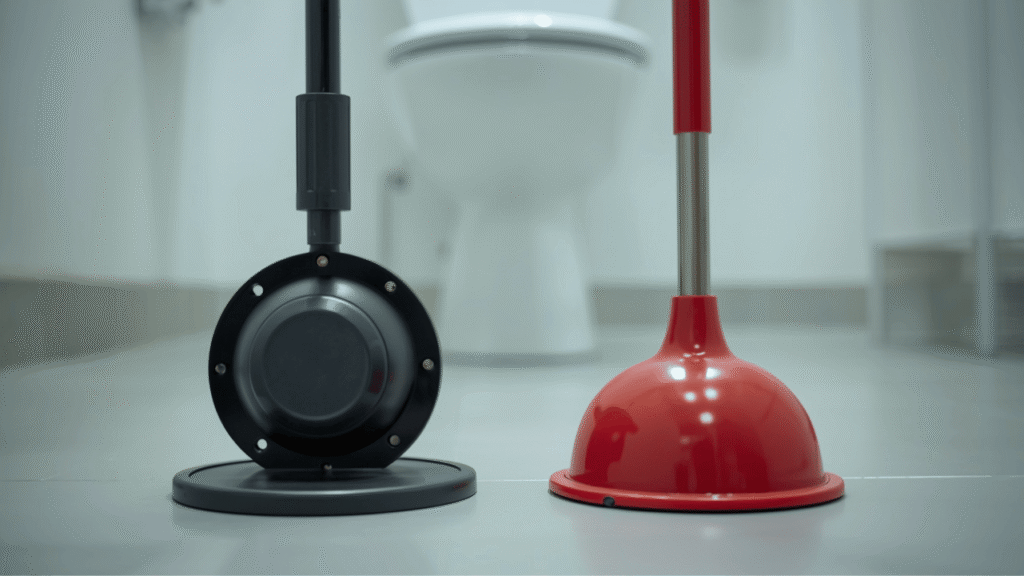
Plungers are not interchangeable, and using the wrong one is the number one reason plunging fails. The basic tool has been around since the 1800s, but the two main types it evolved into do very different jobs.
A cup plunger, the classic half-ball of rubber on a wooden handle, is built for flat surfaces: sinks, tubs, and shower drains. It seals against flat porcelain or metal and generates suction that way.
A flange plunger looks similar but has a soft rubber sleeve that folds out from inside the cup. That flap, the flange, fits down into the curved drain opening at the bottom of a toilet bowl, which a flat cup can never seal against. For a toilet, the flange should be folded out, fully extended; for a flat drain, fold it back in or use a cup plunger instead. If you have ever wondered which way that flap goes, that is the answer, and it is the difference between suction and just sloshing water.
A flange plunger costs around $8 to $12 at any hardware store. Ideally, keep both: a cup plunger under the sink and a flange plunger by the toilet. For a full breakdown of which plunger suits which job, see our guide to plunger types and their uses.
Before You Plunge: Two Minutes of Prep
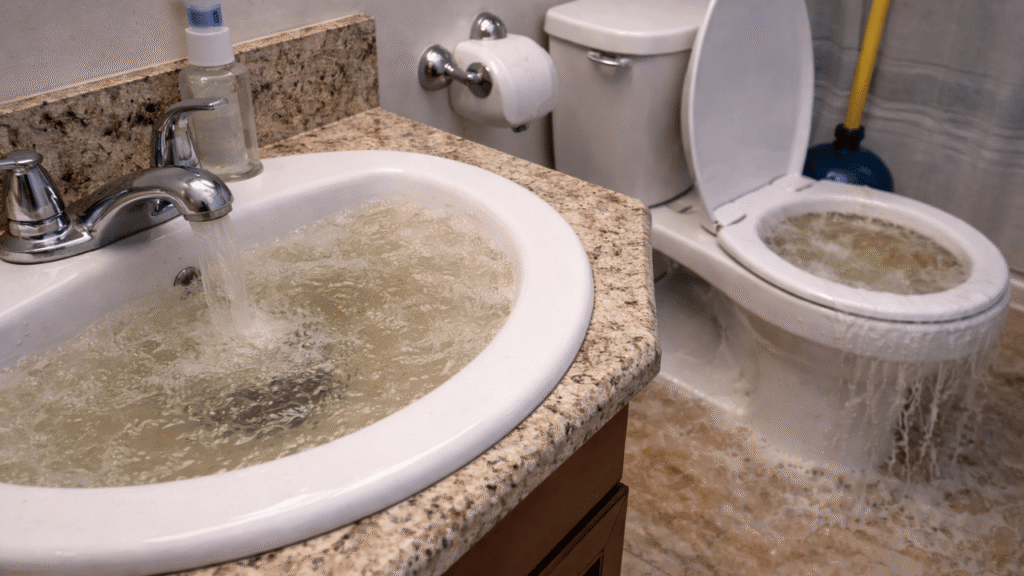
If the toilet is clogged and the water is high, do not flush again. A second flush adds more water to a bowl that cannot drain, and now the problem is on your floor. If the water sits near the rim, wait about 10 minutes; it usually seeps down past the clog enough to give you room to work. If the bowl is low on water instead, add some, because the plunger cup needs to be submerged to build suction.
Lay old towels around the toilet base, or put a bucket in the cabinet under a sink. And if your plunger is new or the rubber feels stiff, hold it under hot tap water for 30 seconds first. Soft rubber seals far better than cold, stiff rubber, especially in winter.
How to Plunge a Toilet: The Pull Is the Power Stroke
This is the part that goes against instinct, and it is the heart of good technique. The power stroke is the pull, not the push. Whatever clogged the toilet got stuck traveling downward, so shoving harder compresses it tighter into the trapway. Pulling sharply back toward you is what dislodges it. Working plumbers use exactly this method, and it clears the large majority of toilet clogs within a few tries.
Here is the sequence:
- Fold the flange fully out and lower the plunger into the bowl at an angle, so the cup fills with water rather than trapping air. Water does not compress; air does. An air-filled cup wastes most of your force.
- Seat the flange into the drain opening and press gently until you feel it grab, like a suction cup on glass. That resistance is your seal.
- Make the first push gentle. You are only setting the seal and squeezing out remaining air, not attacking the clog. A hard first push splashes dirty water at you.
- Now pull back firmly. You should feel strong suction. Then push forward with moderate pressure, and pull back firmly again. Keep the rhythm: moderate push, firm pull.
- Do 15 to 20 pumps without breaking the seal. A gurgle followed by water rushing down is the clog letting go.
- If it does not clear, reseat and repeat. Most clogs give way within two or three rounds.
Then test before you walk away: flush once and watch. Water should swirl down fast and refill to the normal level. If it drains slowly or creeps upward, the clog is only partially cleared, so plunge again.
How to Plunge a Sink: Block the Overflow First
Sinks need the cup plunger and one step almost nobody does: block the overflow hole, the small opening near the top of the basin below the faucet. If you skip this, every pump’s pressure escapes out the overflow instead of driving at the clog, and you accomplish nothing. Stuff a wet rag in firmly and hold it there, or have someone hold it for you.
For a double-basin kitchen sink, same principle: pack a wet rag into the drain of the side you are not plunging, or the pressure just burps up through the other basin.
With the openings sealed, run about two inches of water into the sink, set the cup flat over the drain with full contact around the rim, and use the same rhythm: gentle first push to set the seal, then firm pulls with moderate pushes. Sinks usually clear in 10 to 15 repetitions. Test by running the tap full blast for 30 seconds, then filling the basin halfway and pulling the stopper; if it swallows that volume without hesitating, you are done.
How to Plunge a Shower or Tub Drain
Pop the drain cover off first, since plunging against a strainer wastes the seal. Make sure there is enough standing water on the shower floor or in the tub to cover the plunger’s rim, place the cup directly over the opening, and run the same gentle-push, firm-pull rhythm. For a bathtub, stuff a wet rag into the overflow plate opening below the faucet, for the same reason as the sink: the pressure has to go at the clog, not out a side exit.
When Plunging Isn’t Working
If the toilet won’t unclog with a plunger, run through these before giving up, because the fix is usually one of five things.
No seal, no suction.
If you cannot get the plunger to grab, the rubber may be too old and stiff (plungers lose flexibility after 3 to 4 years, and a new one is cheap) or the cup may not fit the opening well. The pro trick: wrap a soaking wet washcloth around the base of the plunger where the rubber meets the drain. The wet rag fills the small gaps between rubber and porcelain and dramatically tightens the seal. It works on sinks too.
A stubborn clog that will not budge.
Skip the chemical drain cleaner, which damages pipes over time and leaves caustic water you then have to plunge through. Instead, heat a pot of water and let it cool for two minutes, hot but not boiling, since boiling water can crack porcelain. Pour it into the bowl from waist height, add about two tablespoons of dish soap, wait 10 to 15 minutes, then plunge again. The heat softens the clog and the soap lubricates it, and this combination breaks loose most stubborn clogs.
Water level not dropping at all.
If several full rounds change nothing, the blockage is likely past the toilet’s built-in trap, out of a plunger’s reach. A toilet auger, a flexible cable tool that snakes 3 to 5 feet down the line, costs $20 to $30 and is the right next step.
Water seeping from the toilet’s base.
That is not a clog. That is a failing wax ring seal under the toilet, and no amount of plunging fixes it. Stop plunging, because aggressive plunging can make a wax ring leak worse.
Clogs that keep coming back.
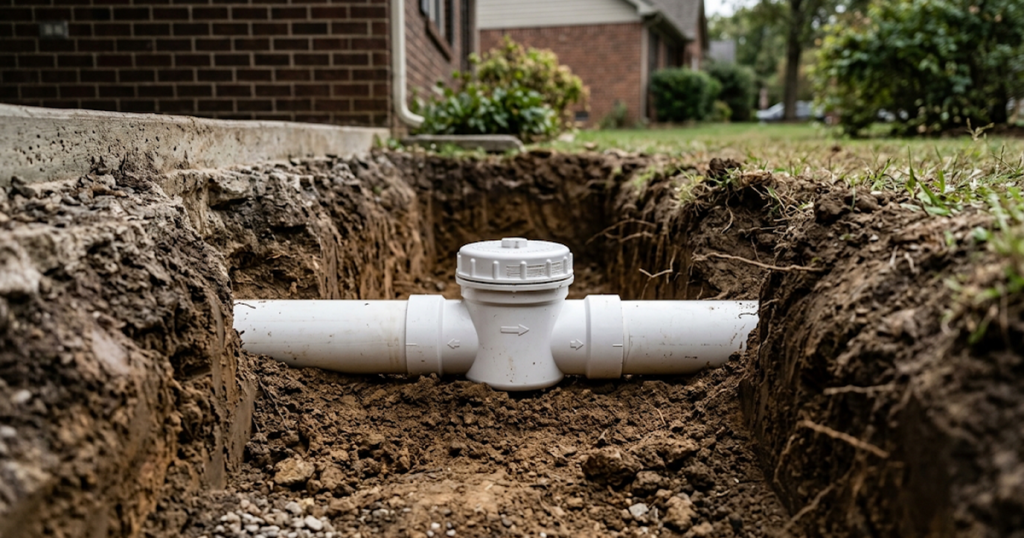
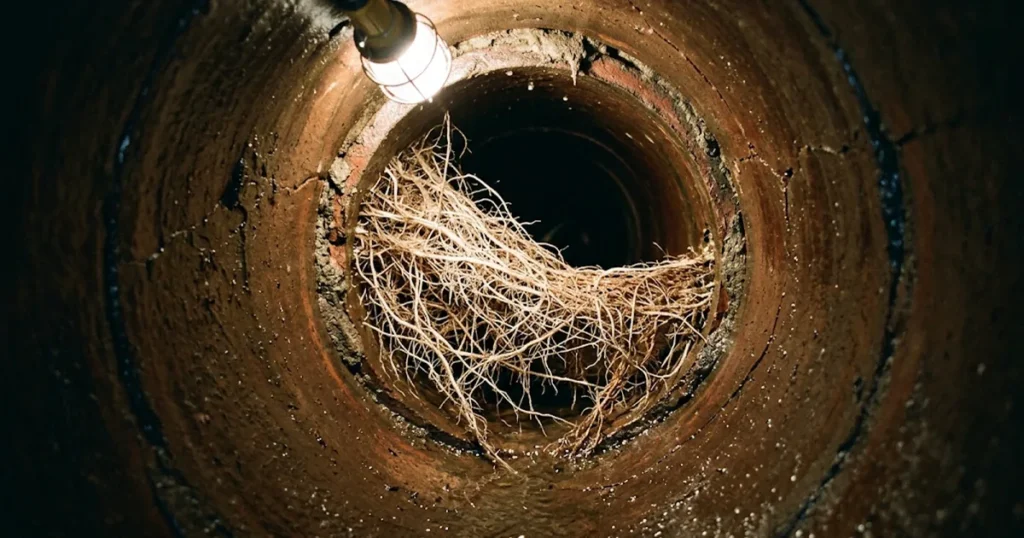
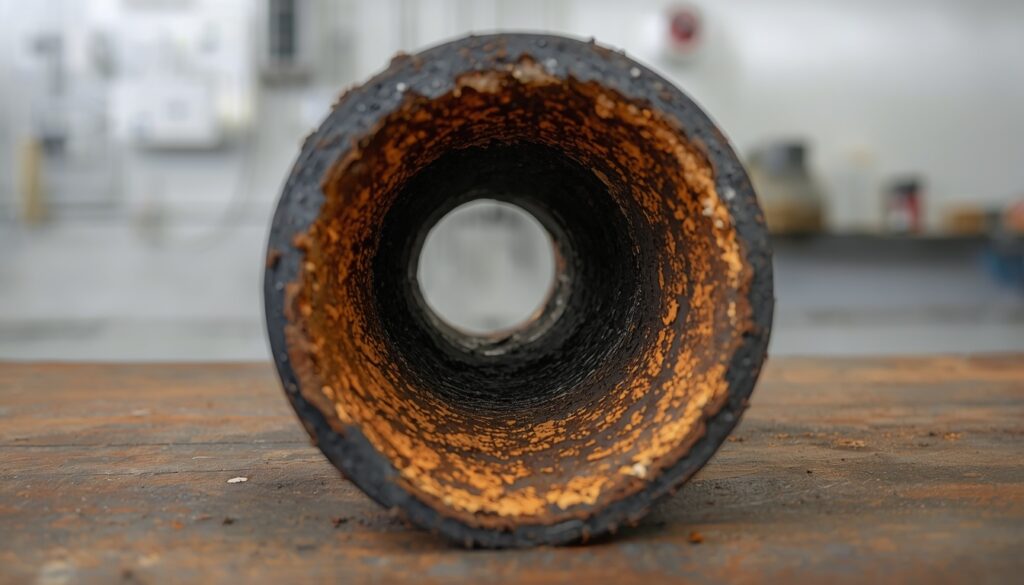
More than one clog a month is your plumbing telling you the real blockage is deeper: a partial obstruction in the main line, tree roots, or a venting problem. At that point a sewer camera inspection finds the actual cause, and professional drain cleaning clears what a plunger never could. Prevention helps too: the EPA advises keeping wipes out of the toilet entirely, since even “flushable” ones are behind a huge share of the clogs we clear.
Frequently Asked Questions About Using a Plunger
How do you use a plunger correctly?
Match the plunger to the drain (flange for toilets, cup for flat drains), submerge the cup in water, and set the seal with a gentle first push. Then let the pull stroke do the work: moderate push, firm pull, 15 to 20 times without breaking the seal. Most clogs clear within two or three rounds.
Why won’t my toilet unclog with a plunger?
The usual causes are a poor seal (wrong plunger type, stiff old rubber, or a bad fit), air trapped in the cup instead of water, or a clog past the toilet’s trap that a plunger cannot reach. Fix the seal with a wet rag around the base, refill the cup with water, and if nothing changes, move to a toilet auger.
Should the flap on a toilet plunger be folded out or in?
Folded out for a toilet. The rubber flap, called the flange, extends down into the curved drain opening to create the airtight seal a flat cup cannot. Fold it back in, or switch to a cup plunger, when working on flat drains like sinks, tubs, and showers.
How do you plunge a toilet that is full to the rim?
Do not flush again, and do not plunge into a full bowl, since every stroke will slosh water over the edge. Wait about 10 minutes for the level to seep down past the clog, or bail some water into a bucket, then plunge normally with the cup submerged but the bowl not overfull.
How do you unclog a toilet without a plunger?
Pour hot (not boiling) water into the bowl from waist height, add a generous squirt of dish soap, and wait 10 to 15 minutes; the heat and lubrication often loosen the clog enough to flush through. If that fails, a toilet auger reaches clogs a plunger cannot. Avoid chemical drain cleaners, which can damage pipes.
How do you clean a plunger after using it?
Rinse it in the flushing toilet water first, then swish it in a bucket with hot water and a splash of disinfectant or bleach, and let it air-dry fully before storing, since a wet plunger in a caddy breeds bacteria. Replace any plunger whose rubber has stiffened or cracked, typically every few years.
The Bottom Line
Effective plunging comes down to three things most people never learn: the right plunger for the drain, water in the cup instead of air, and a firm pull as the power stroke instead of a furious push. Add the overflow-blocking step on sinks and the wet-rag seal trick, and you will clear the overwhelming majority of household clogs in a few minutes for free.
And when a clog keeps returning no matter how well you plunge, that is a sign the real problem sits deeper in the line. Nuflow DFW is licensed by the Texas State Board of Plumbing Examiners (RMP# 46694) and handles the clogs a plunger cannot reach across the Dallas-Fort Worth Metroplex. Call (469) 701-0597 if the same drain keeps backing up.