A leaky outdoor faucet is diagnosed by where the water comes out. Dripping from the spout with the handle closed means a worn stem washer. Water seeping around the handle when it is running means a loose packing nut, which is usually a one-minute fix. Water from the plastic cap on top means a failed vacuum breaker. And water showing up inside the wall means freeze damage, which is the one situation that is not a do-it-yourself repair.
Most guides on this jump straight to “replace the washer.” That is the right answer for exactly one of the four leaks, and the wrong answer for the other three. Find the drip first, then fix the right part. Most of these repairs cost under $10 in parts and take half an hour.
First: Which Type of Faucet Do You Have?
This determines the entire repair, so check before you buy anything. The fixture goes by several names depending on where you grew up: outdoor faucet, outdoor spigot, hose bib, sillcock, or exterior faucet all describe the same thing.
Standard hose bib
The valve and washer sit right behind the handle, an inch or two inside the faucet body. Short, simple, and common on older homes.
Frost-free sillcock
The handle is on the outside, but the actual valve is at the end of a long stem, typically 8 to 18 inches back, inside the heated wall of your house. That is the whole design: the shutoff happens where it cannot freeze, and the exposed section drains empty when you close it. You will see this type sold as a frost-free, frost-proof, or freeze-proof faucet, and manufacturers use the terms interchangeably. Frost-proof sillcocks are required in new construction in most jurisdictions and are standard on newer DFW homes. Wikipedia has a short primer on the sillcock and how the frost-free version works if you want the mechanics.
How to tell without disassembly: if the faucet body looks unusually deep where it meets the wall, or if the house is newer, it is likely frost-free. When you pull the stem out during a repair, the length tells you for certain.
This matters because a frost-free stem is a long assembly you pull straight out without twisting, and you need its exact length and brand to buy a replacement. A standard hose bib takes a common washer you can match at any hardware store.
Try This First: The 30-Second Tighten
Before you take anything apart, try this, because it works surprisingly often and it doubles as a diagnostic.
Look at the faucet body just behind the front. You will see a section shaped like a nut, sometimes with a visible seam where the cap meets the body. That cap holds the valve assembly, and tightening it compresses the washer inside a little further. On a faucet that drips because the washer has flattened, that extra compression frequently stops the leak.
Use two wrenches, not one
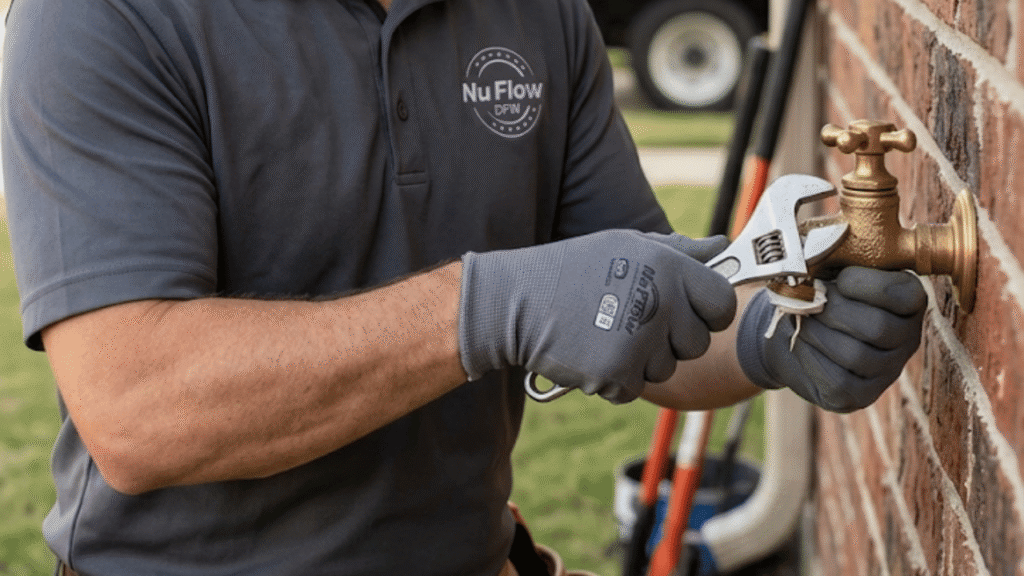
Put a pipe wrench on the faucet body itself to hold it steady, then put an adjustable wrench on the nut and turn clockwise, pulling the two against each other. This matters more than it sounds: a single wrench transfers all that torque into the pipe behind the wall, and twisting that pipe turns a $5 repair into an inside-the-wall one.
Tighten gently until the drip stops. If it does, you have bought yourself time, though the washer is still worn and will need replacing eventually. If tightening does not stop it, that tells you the washer is done and you can move to the real repair below knowing exactly what you are fixing.
The Four Leak Locations and What Each Means
| Where the water appears | When | What it means |
|---|---|---|
| From the spout | Handle closed | Worn stem washer or damaged valve seat |
| Around the handle or packing nut | Handle open | Loose packing nut or worn packing washer |
| From the plastic cap on top | Handle open | Failed vacuum breaker / anti-siphon assembly |
| Inside the wall or at the interior pipe | Handle open | Cracked stem or burst pipe from a freeze |
Turn the faucet on and watch closely, then turn it off and watch again. The two states leak differently, and that difference is your diagnosis.
Fix 1: Leaking Around the Handle (Easiest)
If water seeps out around the handle or the packing nut while the water is running, this is the simplest repair there is.
Take a wrench and tighten the packing nut, the hex nut directly beneath the handle, slightly. Often that alone stops it. A quarter turn is usually enough; do not crank on it.
Two cautions worth knowing. Some packing nuts are reverse-threaded, so if it feels wrong, stop and check before forcing it. And leave it alone if the faucet is not actually leaking there, since overtightening makes the handle stiff and can damage the packing.
If tightening does not hold, shut off the water, remove the handle screw and handle, unscrew the packing nut, and replace the packing washer or packing cord underneath. That part costs a couple of dollars.
Fix 2: Leaking From the Cap on Top
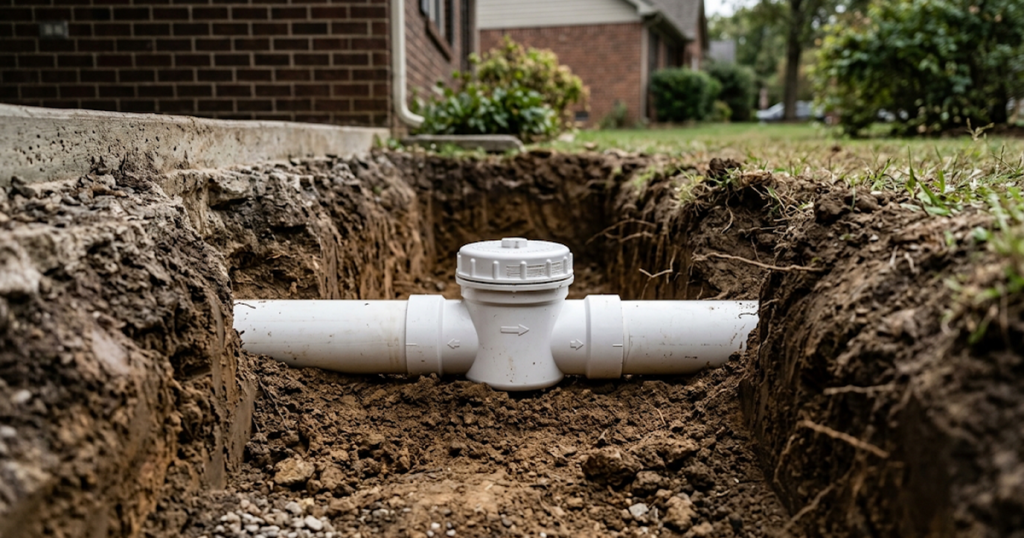
That plastic cap on the top of a newer outdoor faucet is a vacuum breaker, an anti-siphon device that prevents contaminated water from being drawn back into your home’s supply. Plumbing codes require them, which is why every faucet sold now has one.
They fail. Typical service life is around seven years, and when the internal parts go, water sprays or dribbles out of the cap whenever the faucet runs.
The fix is a replacement anti-siphon assembly or rebuild kit, and it is cheap. One important warning: do not force it with a wrench. Many are installed with a break-off set screw specifically so they cannot be removed, and wrenching on it can strip the threads on your faucet or twist the pipe inside the wall. If it will not loosen by hand, that is a plumber’s job, not a bigger wrench.
Get a rebuild kit matched to your faucet brand. Brands are not interchangeable here.
Fix 3: Dripping From the Spout
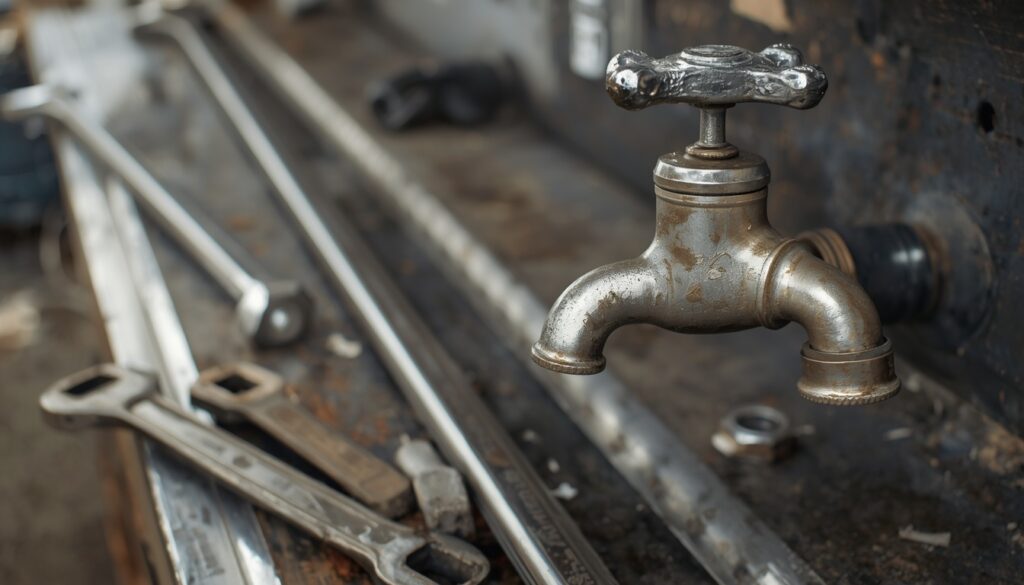
If it drips from the mouth of the faucet with the handle fully closed, the stem washer at the valve end is worn out. Washers fail predictably: every time you close the handle, the rubber compresses against the seat, and after enough years it cracks, splits, or flattens into what looks like a pancake and no longer seals.
Shut off the water first
At a dedicated indoor shutoff for that faucet if you have one, or at the main. Then open the outdoor faucet and let the line drain completely, so you are not fighting pressure when the cap comes off.
Put a pipe wrench on the faucet body and an adjustable wrench on the cap nut, and turn the cap counterclockwise. Once it breaks loose it usually spins out easily by hand. The cap and the valve stem come out together.
On a standard hose bib, the washer is right at the end of a short stem, held by a single screw. Unscrew it (Phillips or flathead, depending on the faucet) and swap in a new one. A flat washer assortment kit is the easy route, and for most hose bibs the 1/2 inch flat washer with a 3/4 inch outside diameter is the correct size. Do not overtighten the screw, because crushing the washer domes it into a bowl shape and it will not seat flat.
On a frost-free sillcock, the stem comes out 8 to 18 inches long, with the washer at the far end. The washer replacement is identical; the difference is only length. Measure from the front of the valve body to the washer and note the brand, usually stamped on the stem or faucet body, if you need to buy a full replacement stem. Before reassembling, shine a flashlight into the faucet body and look at the valve seat: if it is visibly pitted or damaged, a new washer will not seal and the whole faucet needs replacing.
While the valve is out, clean the threads
DFW’s hard water leaves mineral deposits on the threads inside the faucet body and on the stem itself, and those deposits keep the assembly from seating properly. Run a wire brush around both until the metal is bright again, then wipe them down. This step takes a minute and is the difference between a repair that seals and one that seeps.
Seal the threads before reassembly
Wrap plumber’s tape around the stem threads about three times, and wrap it clockwise with the interior end of the stem facing you. Direction matters: you thread the stem in clockwise, so tape wrapped that way gets pulled tighter as it goes in. Wrapped the other way, it bunches up and loosens.
Thread the stem back in by hand, then snug it with the pipe wrench until it stops turning easily. Restore the water, run the faucet at full pressure, and check the wall inside for any dripping. A few drips as the faucet empties are normal; a continuing drip is not.
One workaround worth knowing about, and its catch
Some homeowners screw a shutoff splitter or a brass valve onto the faucet outlet, leave the faucet itself open, and control the water at the splitter instead. It genuinely stops the drip and adds hose connections, and people run this setup for years. The catch is that it leaves the faucet body and the stem pressurized all the time, which defeats the drain-down that makes a frost-proof faucet frost-proof. If you use this workaround, remove the splitter and close the faucet properly before the first freeze, or you will trade a drip for a split pipe.
When the Leak Is Inside the Wall
This is the one to take seriously, and it is common in Texas after a hard freeze.
If water appears inside the wall, in a crawl space, or at the interior pipe connection when you turn the faucet on, the stem is cracked or the pipe behind the faucet has burst. On a frost-free sillcock this is the classic freeze failure: the long stem or the pipe it connects to splits during a freeze, and you do not find out until spring when you open the faucet and water goes into the wall instead of out the spout.
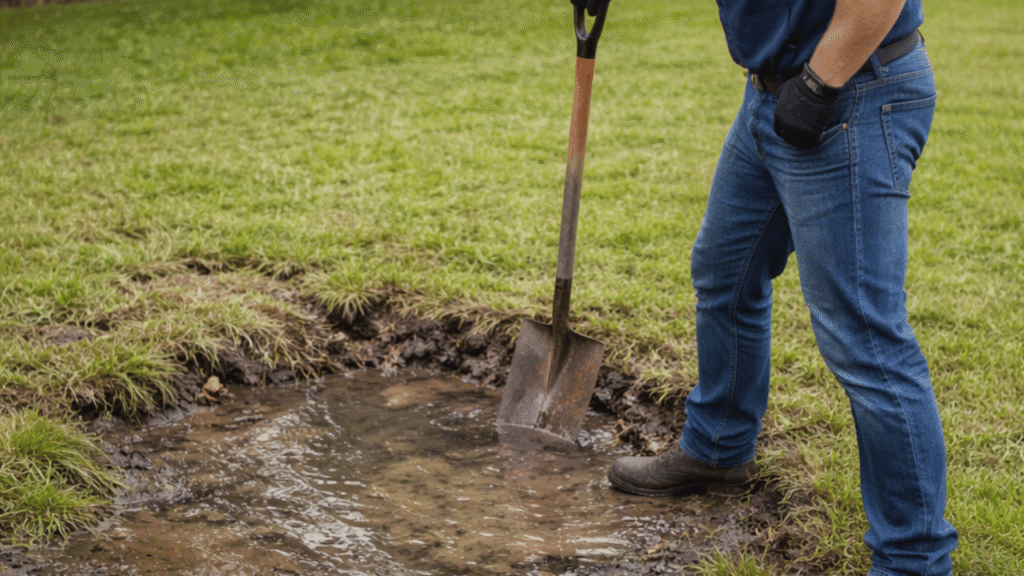
Shut the water off and stop testing it. Water running inside a wall causes damage quickly, and the split is often not directly behind the faucet, which is where professional leak detection earns its cost. A related sign: a persistent wet patch in the yard near an outdoor faucet can mean the supply line feeding it is leaking underground rather than the faucet itself.
Why This Keeps Happening in DFW
North Texas gets hard freezes, and outdoor faucets are the most exposed plumbing on the house. Two things cause most of the damage.
Leaving a hose connected over winter
This is the big one, and it defeats the frost-free design entirely. A frost-free sillcock works by draining the exposed section when you close it. A connected hose holds water in that stem, it freezes, it expands, and it splits the stem or the pipe inside the wall. Disconnect every hose before the first freeze.
Standard hose bibs on older homes
If the spigot is not frost-free, the valve sits right at the exterior wall with no drainage. An insulated foam cover costs a few dollars and reduces the risk, though it is not full protection in a sustained freeze.
If your home has a dedicated indoor shutoff for the outdoor spigot, closing it in late fall and opening the faucet to drain is the most reliable protection there is. And if a freeze has already burst a line somewhere in the house, that becomes a emergency plumbing situation rather than a weekend project.
Do Not Ignore a Slow Drip
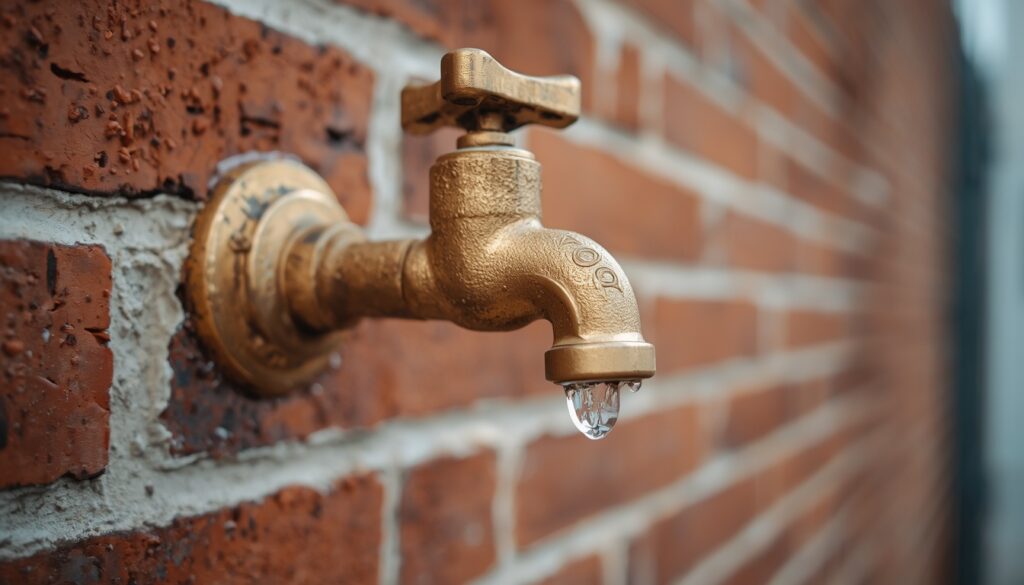
A drip that looks trivial is not. The EPA notes that household leaks waste nearly 10,000 gallons a year, and an outdoor faucet dripping into soil beside your foundation adds a second problem: in DFW’s expansive clay, constant moisture against a foundation feeds the soil movement that shifts slabs. The repair is usually under $10 in parts. Leaving it is not.
Frequently Asked Questions
Why is my outdoor faucet leaking?
It depends where the water appears. Dripping from the spout with the handle closed means a worn stem washer. Water around the handle while running means a loose packing nut. Water from the plastic cap on top means a failed vacuum breaker. Water inside the wall means a cracked stem or burst pipe from freezing.
How do you fix a leaky outdoor faucet?
Diagnose by leak location first. Handle leaks usually stop by slightly tightening the packing nut. Spout drips need the stem washer replaced. Cap leaks need a new vacuum breaker assembly. Most repairs cost under $10 in parts and take about 30 minutes. Leaks inside the wall need a plumber.
Why is my outdoor faucet leaking from the top?
The plastic cap on top houses the vacuum breaker, a code-required anti-siphon device that prevents backflow into your water supply. These typically last around seven years and then leak when running. Replace it with a rebuild kit matched to your faucet brand, and do not force it loose with a wrench.
What is the difference between a hose bib and a frost-free sillcock?
A standard hose bib has its valve right behind the handle at the exterior wall. A frost-free sillcock has a stem 8 to 18 inches long, placing the valve inside the heated wall so the exposed section drains empty when closed. Frost-free is required in new construction in most jurisdictions.
Why does my outdoor faucet leak only when the water is on?
Leaks that appear only under pressure point to the packing nut, the vacuum breaker, or a crack in the stem or pipe. A drip that continues with the handle closed points to the stem washer instead. Water showing inside the wall while running means you should shut off the supply and call a plumber.
Can a leaking outdoor faucet cause foundation problems?
Over time it can contribute. Constant moisture in expansive clay soil, common across DFW, causes the soil to swell and shift, and repeated wet and dry cycles beside a foundation add to that movement. A faucet dripping directly against the foundation is worth fixing promptly for that reason alone.
Do indoor faucets use the same repair?
No. Outdoor hose bibs and sillcocks use a compression stem with a flat washer at the end. Most indoor faucets use a cartridge, or seats and springs under each handle, which is a different part and a different repair. A washer kit for a hose bib will not fit a kitchen or bathroom faucet.
Should I repair or replace a leaking outdoor faucet?
Repair when the leak is a washer, packing, or vacuum breaker and the faucet body is sound. Replace when the valve seat inside is pitted, the body is cracked or badly corroded, the handle will not turn, or the stem has split from freezing. Replacement parts for older brands can also be hard to source.
The Bottom Line
Watch where the water comes out and in which position the handle is. That observation identifies the part, and three of the four possibilities are inexpensive fixes you can finish in an afternoon.
The fourth is the exception. Water appearing inside the wall after a Texas freeze is not a faucet repair, and continuing to test it makes the damage worse.
Nuflow DFW is licensed by the Texas State Board of Plumbing Examiners (RMP# 46694) and handles burst supply lines and hidden leaks across the Dallas-Fort Worth Metroplex, with a free on-site estimate before any work begins. Call (469) 701-0597 if the leak is behind the wall rather than at the faucet.