To test a sump pump, pour 5 gallons of water slowly into the sump pit and watch the float switch rise. The pump should turn on automatically, drain the water through the discharge pipe, and shut off on its own within 30 to 60 seconds. If it does any of those steps late or not at all, the pump needs service.
That is the full test in one paragraph. Below, this guide covers how to test a sump pump both with water and without water, how to check if a sump pump is working at all, and the warning signs that mean you should call a plumber instead of waiting for the next storm. Across sump pump service calls in the Dallas-Fort Worth Metroplex, Nuflow DFW (RMP# 46694) finds that most failures trace back to one of three things: a stuck float switch, a clogged discharge line, or a dead backup battery, and all three are catchable in a five-minute test.
Let’s dive in and make sure your sump pump is working just as it should!
Why Testing Your Sump Pump Matters
A sump pump is the one device in your home that sits idle for months, then has to work perfectly the moment heavy rain hits. In DFW, that moment usually comes with spring storms and the flash flooding that follows. A pump that failed quietly three months ago gives no warning until water is already rising.
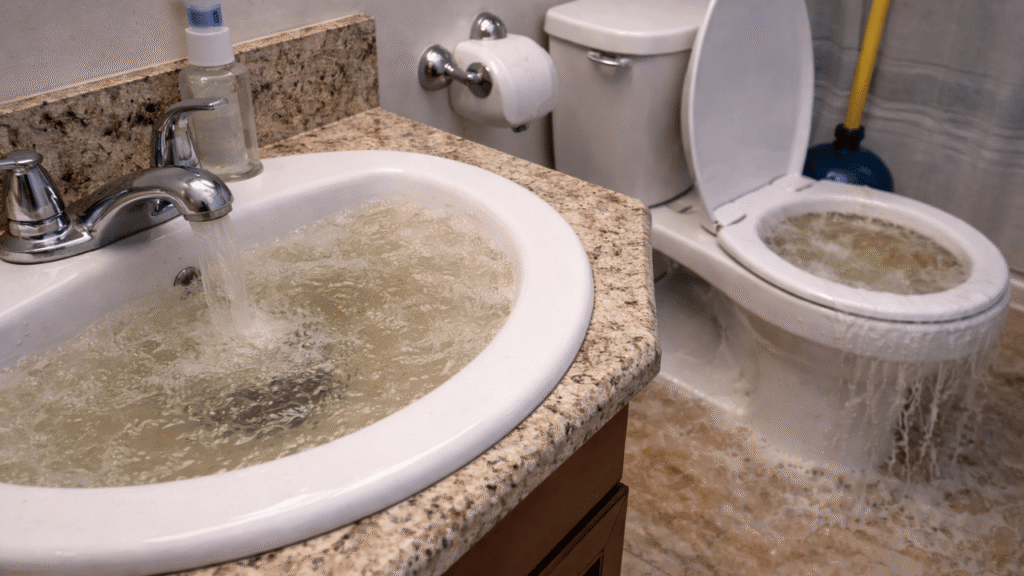
Regular testing catches the small problems, a stuck float, a clogged line, a weak battery, while they are still cheap to fix. A failed sump pump during a storm can mean a flooded crawl space or finished basement, ruined flooring and stored belongings, and the mold that follows standing water within 24 to 48 hours. A five-minute test twice a year is the cheapest insurance you can buy against that.
Signs Your Sump Pump Needs Testing or Inspection
Watch for these warning signs between scheduled tests:
- Strange noises: grinding or buzzing usually means the motor or impeller is wearing out.
- Pump runs constantly: if it keeps cycling when the pit is dry, suspect the float switch or check valve.
- Water is not draining: if the pump runs but the pit stays full, the discharge pipe is likely blocked.
- Visible rust or debris: buildup around the pump or in the pit shortens its life.
- Pump is hot to the touch: this points to a motor working too hard or running dry, which leads to burnout.
- The pump is more than 7 to 10 years old: that is the typical service life, and an older unit can fail without any warning sign at all.
How to Check If a Sump Pump Is Working
Before testing with water, confirm the pump even has power and is set up correctly. This answers the common question of how to check if a sump pump is working when you are not sure it runs at all.
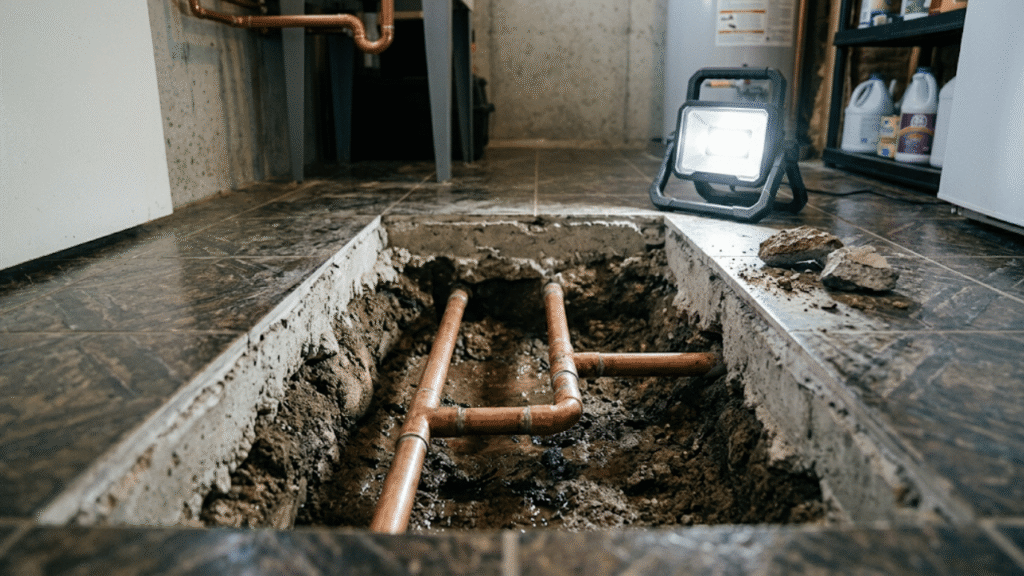
First, find the pump. It sits in the lowest point of the home, in a lined pit usually in a basement, crawl space, or utility area. Lift the cover and look inside for debris, rust, or standing water that should have drained.
Second, confirm power. The pump should be plugged into a working GFCI outlet. Press the test and reset buttons on the outlet to be sure it has not tripped. If the pump has a backup battery, check that it is charged and the terminals are clean.
Third, lift the float by hand. Reach in and raise the float switch manually. The pump should kick on immediately. If it does, the motor and switch both work. If nothing happens, the problem is power, the switch, or the motor, and that is your signal to test further or call a plumber.
How to Test a Sump Pump With Water, Step by Step
The water test takes about five minutes and confirms the pump works under real conditions.
- Locate and inspect the pump. Remove the pit cover and check for visible debris or damage.
- Check power and connections. Confirm the GFCI outlet works and the backup battery, if any, is charged.
- Pour water in slowly. Use a 5-gallon bucket and pour steadily into the pit, watching the water level rise. Most float switches trigger when the pit is about two-thirds full, roughly when water sits 6 to 8 inches from the rim.
- Watch the pump activate. The motor should start the moment the float rises. Listen for a smooth run, not grinding.
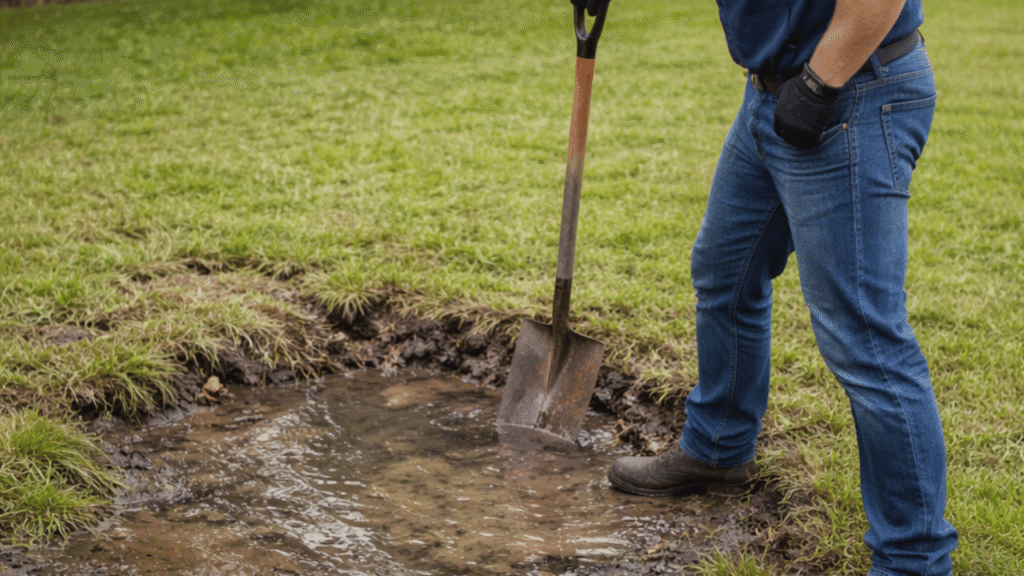
- Check drainage. Water should move steadily through the discharge pipe and out away from the foundation. Confirm it is actually exiting outside and not pooling near the house.
- Confirm automatic shut-off. The pump should stop on its own once most of the water is gone, leaving a small amount in the pit. A pump that keeps running after the pit empties has a float or switch problem.
If every step happens cleanly, the pump is healthy. If any step lags or fails, note which one, since that tells a plumber exactly where to look.
How to Test a Sump Pump Without Water
Sometimes you cannot or do not want to add water, for example if the discharge line is frozen in winter or you are doing a quick check. Here is how to test a sump pump without water.
Lift the float switch by hand. With the pump plugged in, reach into the pit and manually raise the float arm or float ball to the position water would push it to. The pump should turn on immediately. Lower the float, and the pump should shut off. This confirms the float switch and motor work, which is the core of any test.
This no-water method has one limit worth knowing: it does not test the discharge line. A pump can switch on perfectly during a dry test and still fail to move water if the outlet pipe is clogged or frozen. So a dry test is a fast confidence check, but the full water test is what proves the whole system, pump and pipe together. Never run the pump dry for more than a few seconds, since running with no water to move can overheat and damage the motor.
Common Problems Found During Sump Pump Inspection
Even simple pumps develop predictable issues over time.
Electrical and power failures are first to check. If the pump will not start, confirm the GFCI outlet has power and has not tripped, then look for a tripped breaker or loose wiring. If the pump relies on a backup battery for power outages, a dead or disconnected battery means it will fail exactly when a storm knocks out the grid.
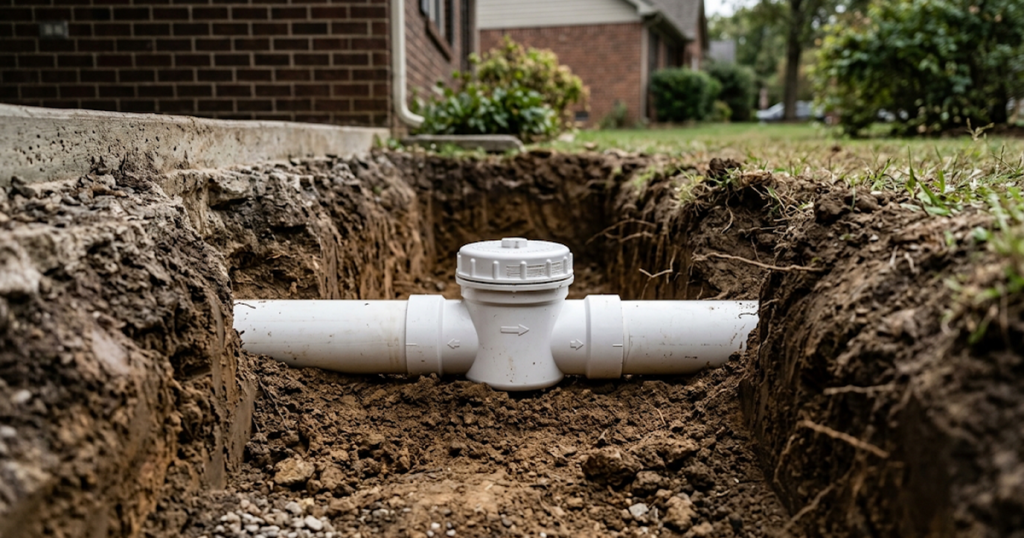
Clogged or blocked discharge lines are among the most common faults. Dirt, debris, or in cold snaps a frozen plug builds up in the discharge pipe and stops water from leaving. The pump runs harder, overheats, and eventually fails. If the pump runs but the pit will not empty, the discharge line is the first suspect.
A faulty float switch or motor is the third recurring problem. A float that is stuck, dirty, or blocked by the power cord will either run the pump constantly or fail to start it. A worn motor often announces itself with grinding noise or a pump that runs without moving water. Both usually need professional repair or replacement.
How Often Should You Test a Sump Pump
Test the pump at least twice a year, once in spring before the wet season and once in fall, plus a quick float lift each month during storm-heavy periods. A 30-second monthly float check catches the majority of common failures before they matter. Test the backup battery on the same schedule, since a battery can lose its charge while the pump itself is fine.
When to Call a Plumber Instead
A test tells you the pump runs. It does not tell you the pump has years of life left or that the pit and discharge line are correctly sized for your home. Call a licensed plumber if the pump fails any step of the water test, makes grinding noises, is over 7 to 10 years old, runs constantly, or the discharge water pools near the foundation instead of draining away. A professional sump pump inspection also checks the check valve, pit sizing, and battery backup, the parts a homeowner test cannot fully verify. Honest tradeoff: a DIY test costs nothing and takes five minutes, but a professional inspection, starting around $150+ is the only way to confirm the full system is storm-ready. Final cost depends on the findings.
If you would rather not test it yourself, or your test turned up a problem, Nuflow DFW handles sump pump inspection, maintenance, and repair across the DFW Metroplex. Compare that to the cost of water leak detection and cleanup after a failed pump, and a scheduled check is the cheaper path.
Frequently Asked Questions
How do you test a sump pump?
Pour 5 gallons of water slowly into the sump pit and watch the float rise. The pump should switch on automatically, drain the water through the discharge pipe, and shut off on its own within 30 to 60 seconds. If any step lags or fails, the pump needs service. Call Nuflow DFW (RMP# 46694) at (469) 701-0597.
How do you test a sump pump without water?
Lift the float switch by hand with the pump plugged in. The pump should turn on immediately and shut off when you lower the float. This confirms the motor and switch work, but it does not test the discharge line, so a full water test is still recommended. Never run the pump dry more than a few seconds. Call Nuflow DFW at (469) 701-0597.
How do I check if my sump pump is working?
Lift the pit cover, confirm the pump is plugged into a working GFCI outlet, and raise the float by hand. The pump should start immediately. If it does, the motor and switch are working. If nothing happens, the issue is power, the float, or the motor. Nuflow DFW (RMP# 46694) provides inspections across the DFW Metroplex at (469) 701-0597.
How often should I test my sump pump?
Test your sump pump at least twice a year, once in spring before the wet season and once in fall, plus a quick monthly float lift during storm-heavy months. Test the backup battery on the same schedule. Regular testing catches stuck floats, clogged lines, and weak batteries early. Call Nuflow DFW at (469) 701-0597 to schedule a professional inspection.
How long does a sump pump last?
Most sump pumps last 7 to 10 years. After that, they can fail without warning, even if recent tests passed, so age alone is a reason to consider replacement. Backup batteries last shorter, usually 3 to 5 years. Nuflow DFW (RMP# 46694) inspects and replaces aging sump pumps across the DFW Metroplex. Call (469) 701-0597 for an evaluation.
Why does my sump pump run constantly?
A sump pump that runs nonstop usually has a stuck float switch, a failed check valve letting drained water flow back into the pit, or a pit that is undersized for the water volume. Constant running burns out the motor fast. Have it inspected before it fails. Nuflow DFW (RMP# 46694) serves the DFW Metroplex at (469) 701-0597.
Test It Today, Before the Next Storm
Run the five-minute water test this week, then mark your calendar for a monthly float check and a deeper test each spring and fall. If the pump fails any step, or it is already past the 7-year mark, get a professional sump pump inspection before storm season rather than after a flood. Nuflow DFW is a licensed Texas master plumber (RMP# 46694) serving Dallas, Garland, Plano, and the wider DFW Metroplex, with 24/7 emergency service. You can verify the license through the Texas State Board of Plumbing Examiners. Call (469) 701-0597 to schedule.