Installing a shower drain in a concrete floor can feel like a big job at first. The surface is solid, and even small mistakes can lead to leaks or drainage problems later. But once you understand the process, it becomes much easier to handle. You don’t need to rush or guess your way through it. With the right steps, you can install a shower drain that works smoothly and lasts for years.
This guide walks you through the full process in a simple way. You’ll learn how to prepare the concrete, connect the drain pipe, and create the right slope for proper water flow. Whether you are doing a bathroom upgrade or working on a new setup, getting the shower drain installed correctly is one of the most important parts of the job.
What Is a Shower Drain and How Does It Work?
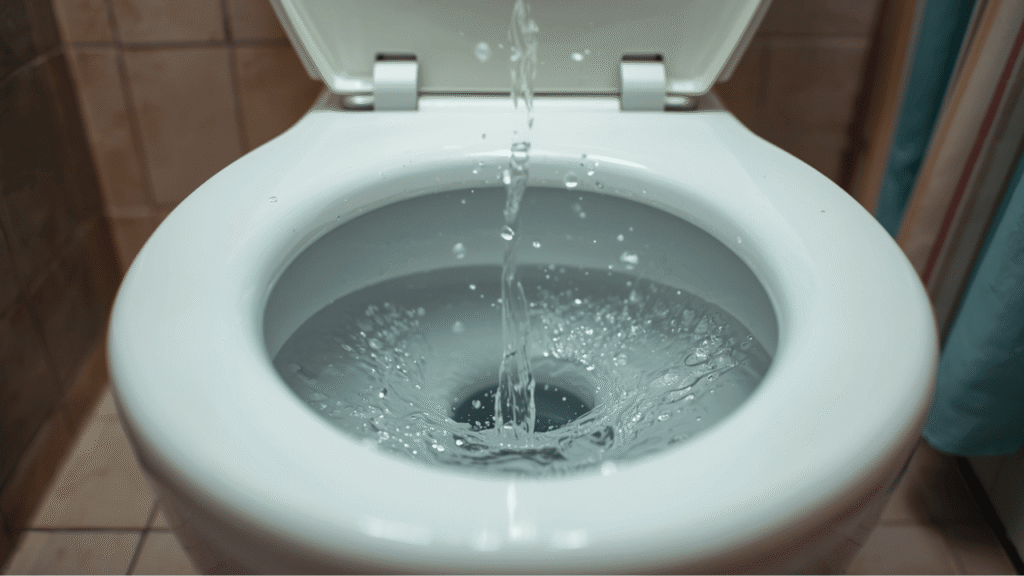
A shower drain is the part in your shower floor where all the water goes. It collects the water and moves it safely into the plumbing system under your floor. Without it, water would just sit on the surface and create a mess.
It works in a simple way. When you turn on the shower, water flows down toward the drain because the floor is slightly sloped. The drain then carries that water into a pipe connected to your home’s drainage system. Inside the pipe, there is usually a trap that holds a small amount of water. This helps block bad smells from coming back up into your bathroom.
Types of Shower Drain Systems for Concrete Floors
When you’re installing a shower drain in a concrete floor, choosing the right type makes a big difference. Each drain works a little differently and suits different shower designs. Some are simple and common, while others are more modern and flexible. Let’s go through the main options so you can understand what fits your setup best.
Standard Shower Drain
This is the most common type you’ll see in many homes. It usually sits in the center of the shower floor and has a round or square cover on top. Water flows from all sides toward this point because the floor is sloped evenly. It’s simple, reliable, and works well for most basic shower setups.
Linear Shower Drain
A linear drain is long and narrow, usually placed along one side or edge of the shower. Instead of sloping the floor from all directions, you only need a single slope toward the drain. This makes installation easier in some cases and gives a cleaner, more modern look. It’s also a good option for larger showers or walk-in designs.
Bonding Flange Shower Drain
This type is designed to work with waterproofing systems. It has a special flange that connects directly with a waterproof layer, helping prevent leaks. It’s often used in tile showers where proper sealing is very important. While it may take a bit more care during installation, it gives a strong and long-lasting result when done correctly.
Step-by-Step Shower Drain Installation in Concrete
Installing a shower drain in concrete takes a bit of effort, but if you follow each step carefully, the process becomes manageable. The goal is to make sure water flows smoothly into the drain without leaks or standing water. Take your time with each step, and don’t rush the setup.
Step 1: Mark the Drain Position
Start by deciding where the drain will go. Most showers have the drain in the center, but it can also be placed on one side depending on your design. Mark the exact spot clearly so you know where to cut. Make sure this position lines up with your plumbing below.
Step 2: Cut the Concrete Floor
Now cut the concrete where you marked the drain location. Use a concrete saw or similar tool to break and remove that section. Work carefully and only remove what’s needed. This space will allow you to access and connect the drain pipe.
Step 3: Install the Drain Pipe
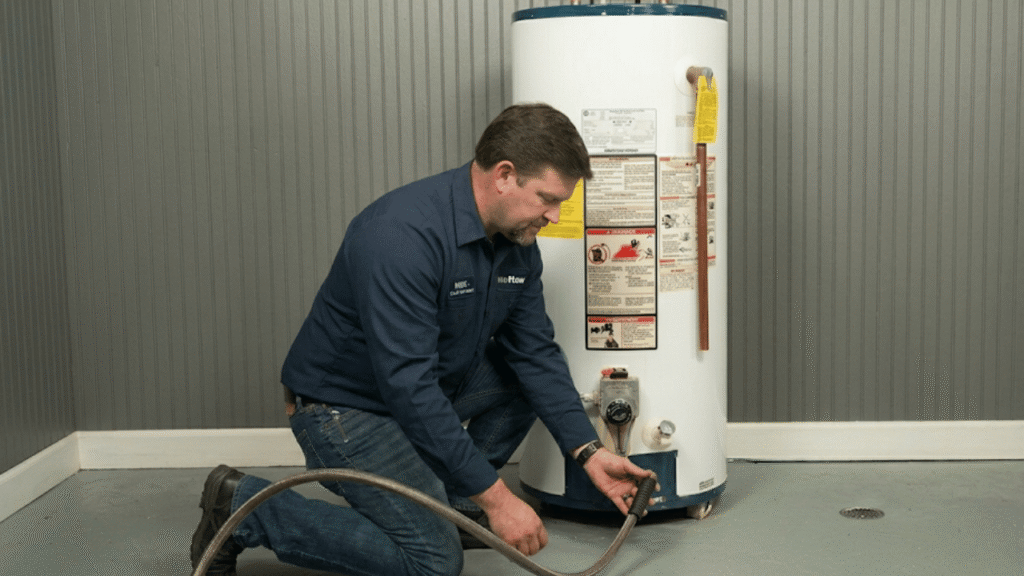
Once the concrete is open, install or adjust the drain pipe underneath. The pipe should be placed at the correct height and angle so water can flow easily. Make sure it connects properly to your existing plumbing system.
Step 4: Fit the Shower Drain Base
Place the shower drain base over the pipe and check the fit. This is called a dry fit, where you test everything before fixing it permanently. Make sure the drain sits level and lines up perfectly with the pipe.
Step 5: Secure with Cement
After confirming the fit, secure the drain base using the right cement or adhesive. If you are using PVC or ABS pipes, use the correct solvent cement for that material. This step is important to prevent leaks later, so make sure everything is tightly sealed.
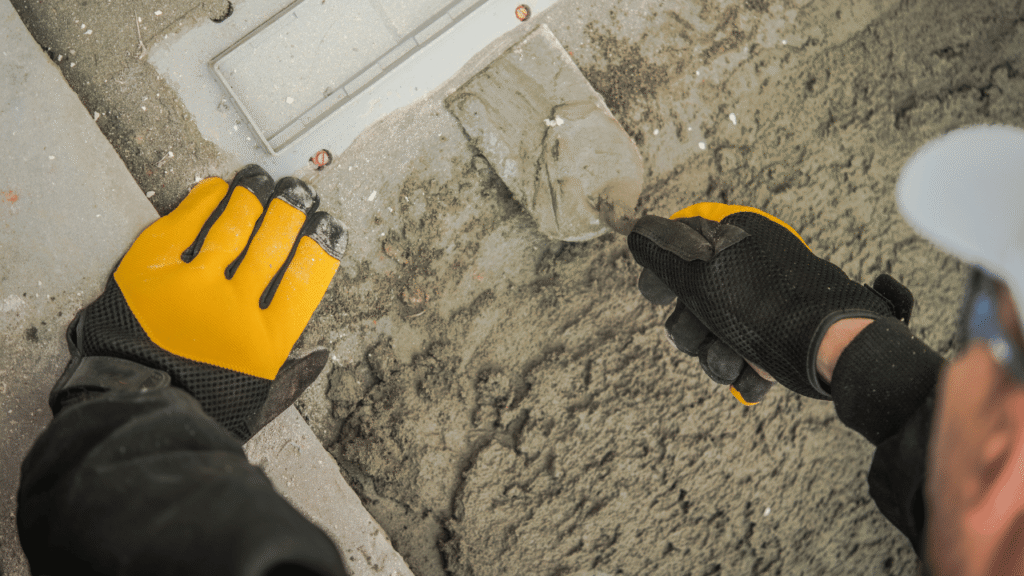
Step 6: Build the Mortar Bed
Now start building the mortar bed around the drain. This layer supports the shower floor and helps guide water toward the drain. Spread the mortar evenly and make sure it is compact and stable.
Step 7: Create Proper Drain Slope
The final step is creating the right slope. The floor should gently slope toward the shower drain so water flows naturally. A common rule is about 1/4 inch slope per foot. Take time to level and shape the surface properly before it sets.
Common Shower Drain Installation Mistakes
When installing a shower drain in concrete, small errors can turn into big problems later. Most issues come from rushing the process or missing key details. Here are some common mistakes you should avoid:
- Not creating the right slope, which causes water to collect instead of draining
- Weak or loose pipe connections that can lead to hidden leaks
- Using the wrong materials, especially mixing PVC and ABS components
- Setting the drain at the wrong height, making the floor uneven
- Skipping proper waterproofing around the drain area
- Not leveling the drain correctly before the cement sets
- Rushing the installation without checking each step carefully
Avoiding these mistakes will help your shower drain work smoothly and last much longer.
Final Thoughts
Installing a shower drain in concrete is something you can handle on your own if the setup is simple and everything lines up easily. But in many cases, the work can get tricky. Cutting through concrete, adjusting pipes, or making sure everything is perfectly sealed takes experience. If something goes wrong, fixing it later can cost more time and money.
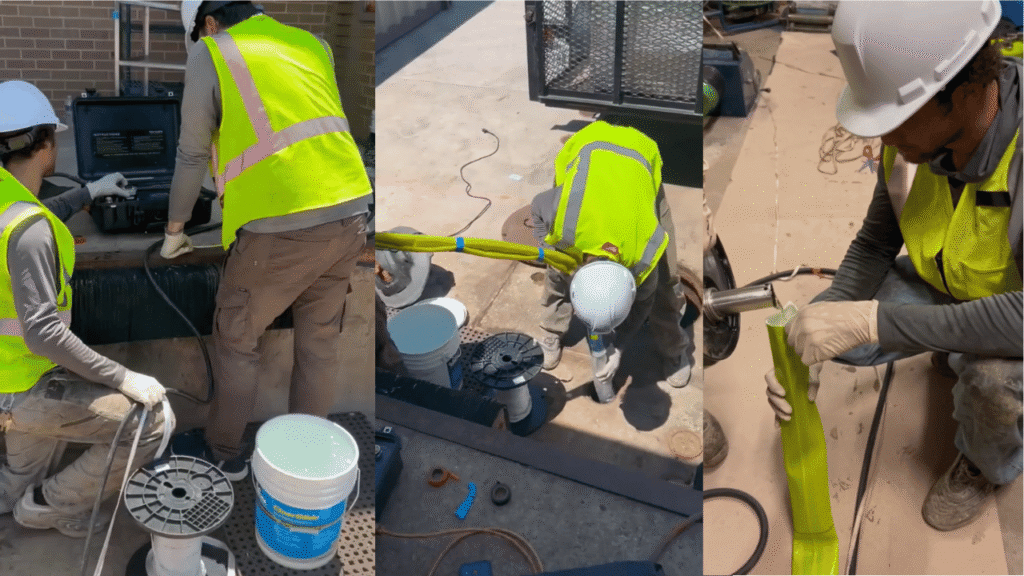
That’s why it’s often a smart move to bring in professionals when the job feels complex or you’re not fully confident. A skilled team can make sure the drain is installed correctly, the slope is accurate, and there are no hidden leaks.
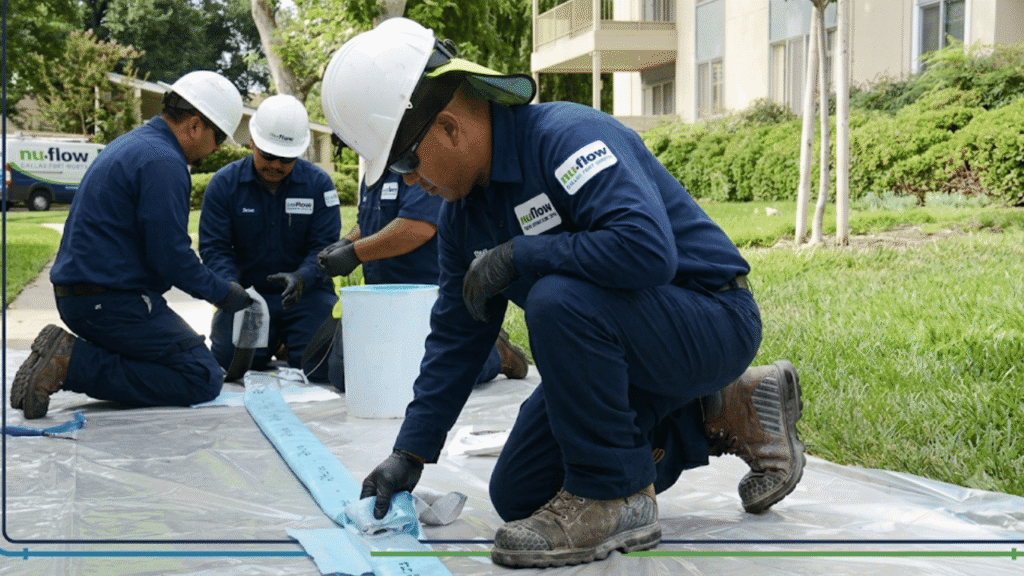
If you’re planning a shower drain installation or dealing with drainage issues, NuFlow DFW can help. Their team handles everything from pipe adjustments to complete drainage solutions, making sure your system works smoothly and lasts long. Getting it done right the first time saves you from bigger problems down the road.