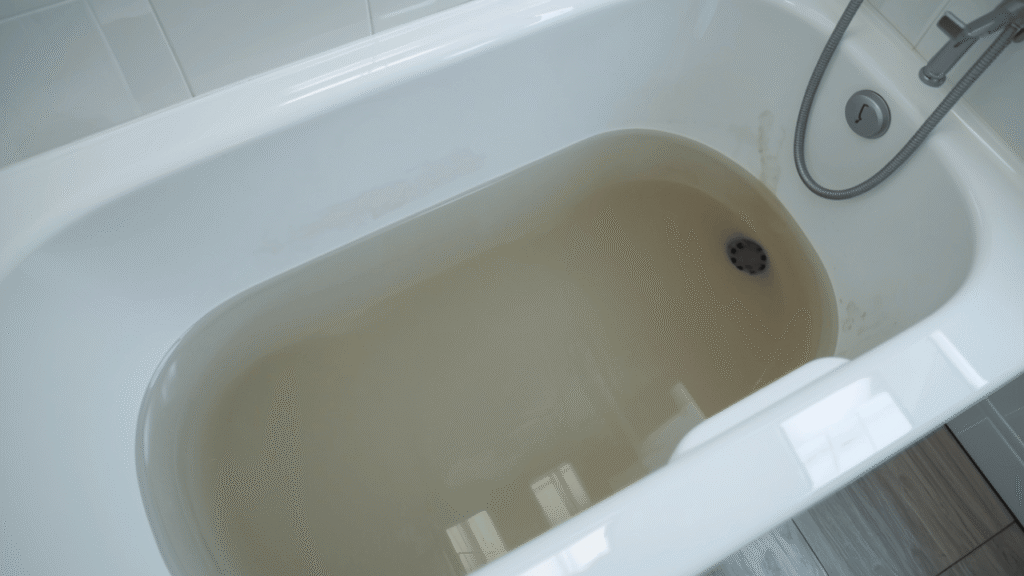
A leaking bathtub faucet might not seem like a big deal at first, but that constant drip can quickly get annoying and it can waste a surprising amount of water over time. According to the U.S. Environmental Protection Agency , even small leaks in homes can lead to significant water loss if not fixed early.
In most cases, the problem comes down to worn-out parts inside the faucet, like a washer or cartridge. With a few basic tools and a little patience, you can usually stop the leak yourself without needing a full replacement.
In this quick guide, we’ll walk you through the simple steps to fix a leaking bathtub faucet so you can get things back to normal without the stress.
Why Your Bathtub Faucet Is Leaking
A leaking bathtub faucet usually isn’t random; it’s a sign that something inside the fixture has worn out or loosened over time. The most common reason is a worn washer or cartridge. These small parts handle water flow every time you turn the faucet on and off, so after months or years of use, they start to wear down. Once that happens, water can slip through even when the handle is turned off, causing that constant drip.
Another common cause is loose or damaged internal parts. Faucets experience regular pressure changes, and over time, components like screws, seals, or O-rings can shift or weaken. When they don’t sit properly anymore, they can’t create a tight seal, which leads to leaks.
In some cases, mineral buildup from hard water can also affect how well the parts fit together, making the problem worse. Understanding the cause is the first step, because fixing the right issue will save you time and prevent the leak from coming back.
Quick Steps to Fix It
Fixing a leaking bathtub faucet is easier when you follow the steps in the right order. Do not rush the process, because one missed step can cause more leaking or make the faucet harder to reassemble.
Step 1: Turn Off the Water
Before touching the faucet, turn off the water supply. This prevents water from spraying out when you remove the handle or internal parts. Some bathrooms have a shut-off valve nearby, but if you cannot find one, you may need to turn off the main water supply for the home. After that, open the faucet to drain out any leftover water.
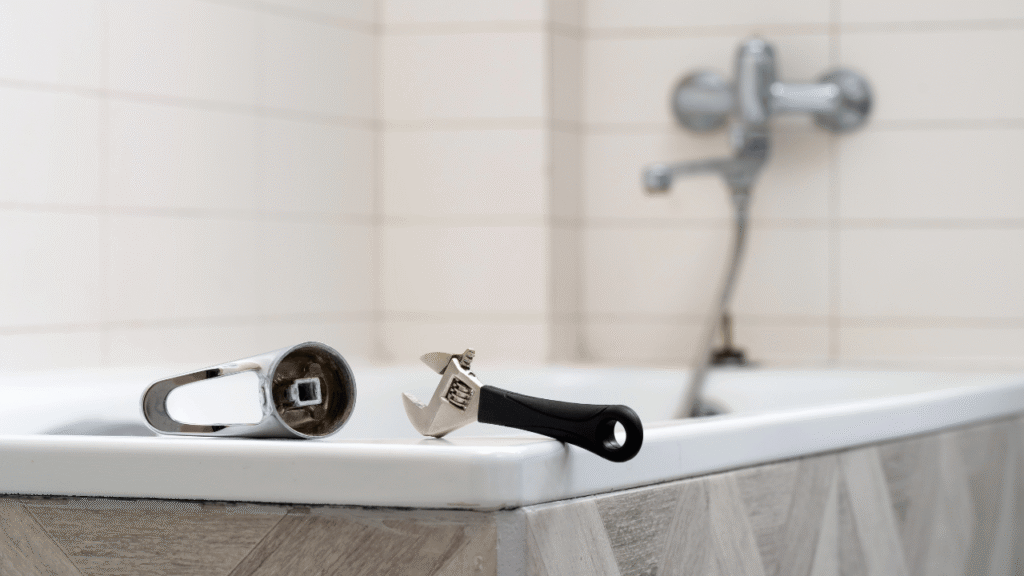
Step 2: Remove the Handle
Next, remove the faucet handle carefully. Most handles have a small screw under a cap or behind the handle. Use a screwdriver or Allen key, depending on the design. Keep the screws in a safe place so you do not lose them. Once the handle is off, you should be able to see the cartridge, stem, washer, or other internal parts.
Step 3: Replace the Damaged Part
Now check the parts inside the faucet. If the washer looks cracked, flat, or worn out, replace it. If the cartridge is damaged or stuck, install a matching new one. Always take the old part with you to the hardware store so you get the correct size. Using the wrong part can make the leak worse.
Step 4: Reassemble and Test
After replacing the damaged part, put everything back in the same order. Tighten the parts gently, but do not over-tighten them. Turn the water supply back on and test the faucet. If the dripping stops, the repair works. If it still leaks, the problem may be deeper in the valve or plumbing line.
Why Your Faucet Still Drips After Repair
It can be frustrating to fix your faucet and still hear that annoying drip. In most cases, this happens because something small was missed during the repair. One common reason is using the wrong replacement part. Even if it looks similar, a slightly different size washer or cartridge won’t seal properly, and water will keep slipping through.
Another reason could be that the valve seat or internal parts are worn out. If the surface inside the faucet is damaged or rough, new parts won’t sit tightly, which leads to continued dripping. Sometimes, parts are not tightened correctly either too loose or too tight both of which can cause leaks.
Mineral buildup from hard water can also prevent parts from fitting properly. If you’ve checked everything and the drip is still there, the issue might be deeper than a simple part replacement. In that case, it’s usually better to get professional help instead of trying to force a fix.
Final Tip
Fixing a leaking bathtub faucet early can save you a lot more than just water. That small drip might not seem like a big deal, but over time it can increase your water bill and even lead to bigger plumbing issues if left untreated. Taking action early keeps things simple and avoids costly repairs later on.
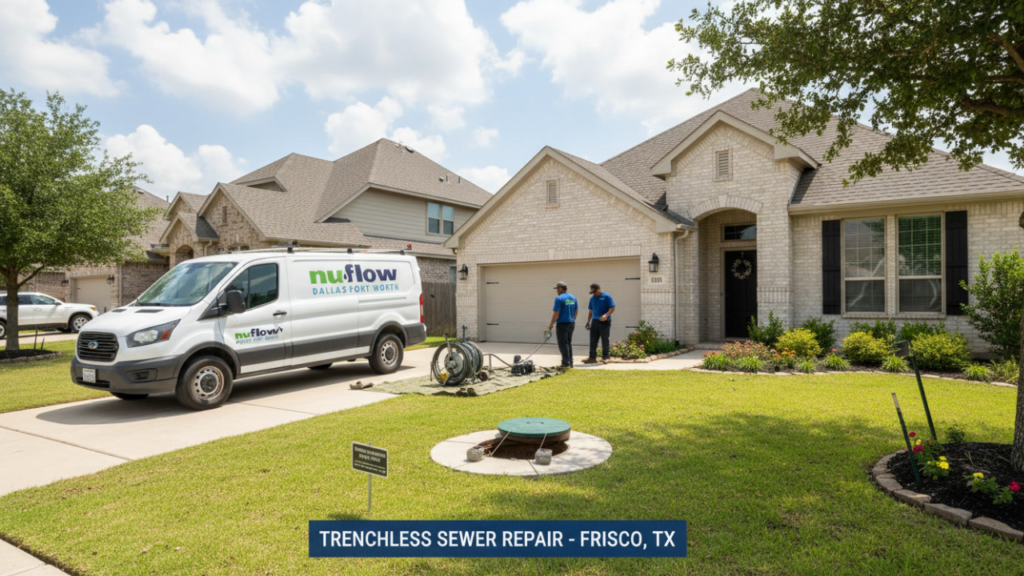
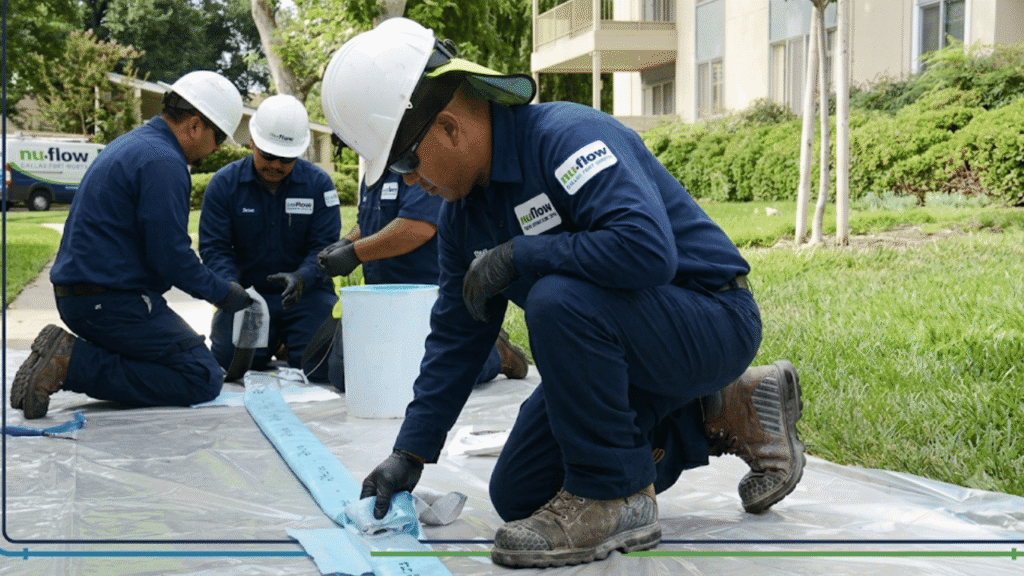
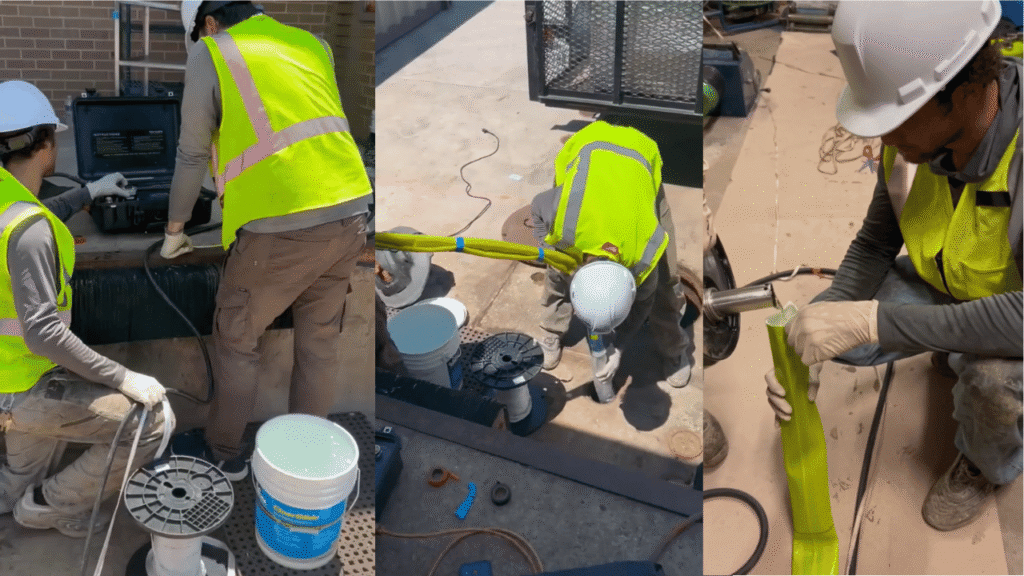
If you’ve tried fixing it yourself and the leak is still there, it’s usually a sign that the problem is deeper than it looks. In that case, getting help from professionals like NuFlow DFW can save you time and prevent further damage. They can quickly identify the issue and fix it the right way so you don’t have to deal with the same problem again.