You can replace a garbage disposal yourself in about an hour with a few basic tools, and it usually costs less than half of hiring it out. The job is mostly disconnecting the old unit, swapping in the new one of the same horsepower, and reconnecting the drain and power. It is a beginner-friendly project, as long as your sink already has wiring and a switch in place.
Before you spend money on a new unit, it is worth checking whether the old one is actually dead. This guide covers that quick test first, then walks through removing the old disposal, installing the new one, the mistakes that flood kitchens, and the point where a beginner should hand it to a pro.
First, Check These Three Things Before You Replace It
A disposal that has gone quiet is not always broken. Run these three checks first and you may save yourself the swap entirely:
- Hit the reset button. On the bottom of almost every disposal is a small red reset button. If the motor overloaded, it tripped. Press it in and try the unit again.
- Check the breaker. If the disposal makes no sound at all, go to the electrical panel and flip the disposal’s breaker fully off, then back on. A tripped breaker is a common and free fix.
- Free a jam. If the unit hums but does not spin, something is stuck. Most disposals have a hex socket on the underside. Fit a 1/4-inch hex (Allen) wrench into it and turn back and forth to break the jam loose, then hit reset.
If none of that brings it back, or if water is dripping from the body of the unit rather than a loose pipe, the disposal is done. A leaking housing cannot be fixed and means replacement. Most disposals last 10 to 12 years, so an old one that has failed has simply reached the end.
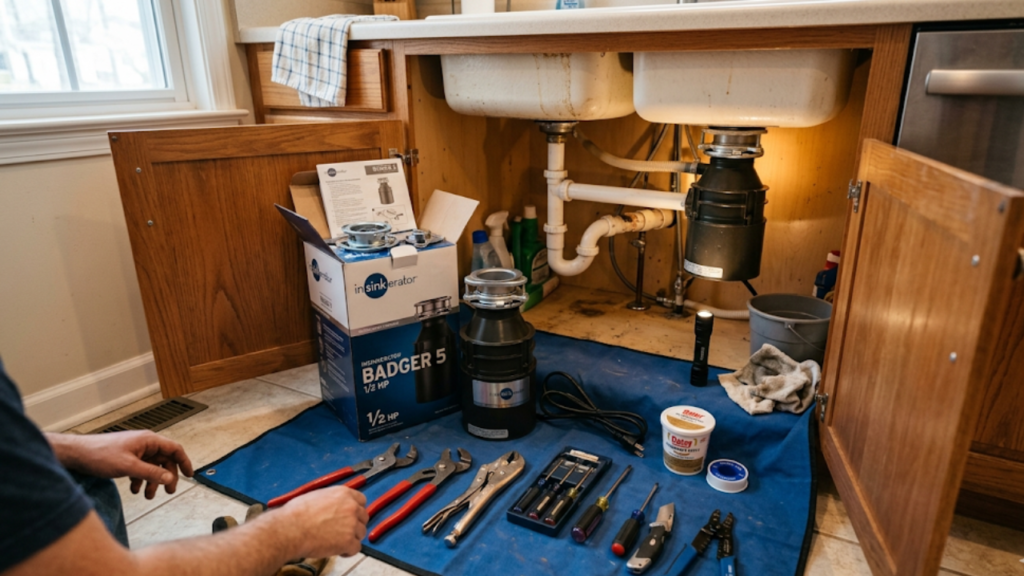
Tools and Materials You Need
The job needs very little:
- New garbage disposal (match the old one’s horsepower, more on that below)
- Bucket and old towels
- Flathead and Phillips screwdrivers
- Adjustable pliers or channel locks
- The mounting wrench (wrenchette) that comes in the box
- Plumber’s putty (if you are replacing the sink flange)
- A hacksaw or PVC handsaw, in case a drain tube needs trimming
Total cost if you own the tools: just the unit, usually $80 to $180 depending on horsepower (as of Q2 2026).
Step 1: Buy the Right Replacement
Match the horsepower of your old unit, or step up if your old one struggled. Snap a photo of the old disposal’s label before you shop. A 1/2 HP unit handles a typical kitchen; 3/4 HP and 1 HP grind faster and clog less, which is worth it for a busy household.
One shortcut: if your current disposal uses the common twist-on mounting collar and your new one matches that system, you can leave the existing mounting assembly in the sink and only swap the motor. That turns a one-hour job into a fifteen-minute one.
Step 2: Turn Off the Power
Go to the electrical panel and switch off the breaker for the disposal. Then flip the wall switch at the sink to confirm the unit is dead. Do not rely on the wall switch alone. A disposal sits in a damp cabinet, so power matters here: the Electrical Safety Foundation explains that kitchens are exactly where ground-fault protection belongs{target=”_blank” rel=”noopener”}. If your disposal is hardwired rather than plugged into an outlet, and you are not comfortable with wiring, this is the point to call an electrician.
How to Remove the Old Garbage Disposal
With the power off, removing the old unit takes four moves:
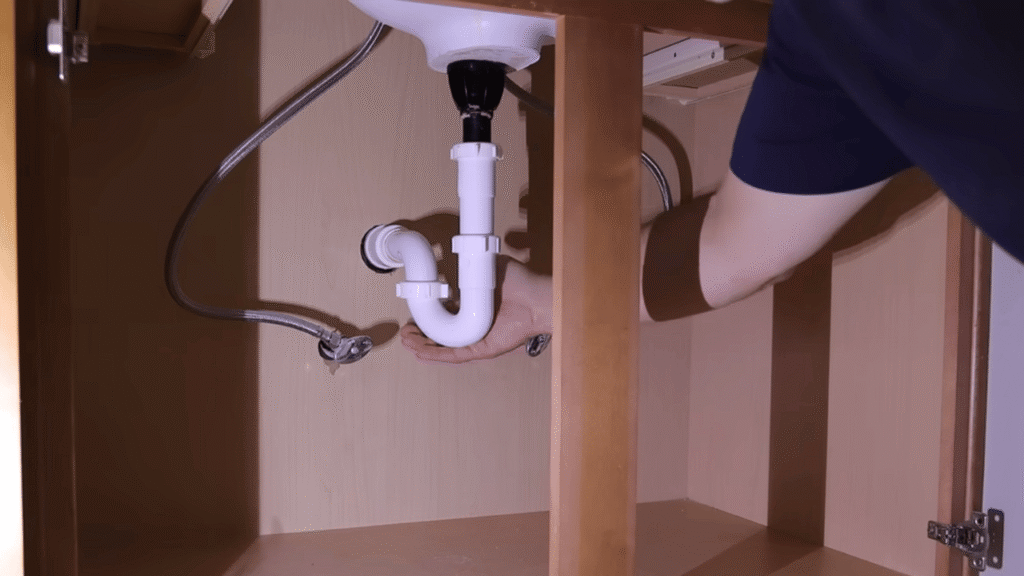
- Disconnect the drain. Place a bucket under the P-trap and loosen the slip nuts. There is always water sitting in the trap. A trick when the bucket will not fit: hold a sandwich bag under the connection so the trapped water drains into it. Loosen the discharge tube where it meets the disposal.
- Disconnect the dishwasher line. If a dishwasher drains into the disposal, loosen its hose clamp with a flathead screwdriver and pull the hose free.
- Disconnect the power. Unplug the unit, or if it is hardwired, open the wire box on the bottom and disconnect the wires (with the breaker confirmed off).
- Release the unit from the mount. Most disposals twist off the mounting ring with the wrenchette; some use a hose clamp. Support the unit with your other hand as it comes free. A disposal is heavy, and there is often a water supply line directly below it, so set a box or your knee underneath so it cannot drop and crack something.
That covers how to remove a garbage disposal cleanly. If you are only taking the old one out and not replacing it, this is also how you disconnect and uninstall it for good, though you will then need a plumber to cap or reroute the drain.
How to Install the New Garbage Disposal
Mount the new disposal
If you are reusing the old mounting assembly, skip ahead. If you are installing the new mount, separate the sink flange, roll a rope of plumber’s putty around it, and press it into the clean sink drain hole. From underneath, stack the gasket, support ring, and mounting ring, and tighten the three screws evenly until snug. Wipe away the putty that squeezes out (you can save it).
Knock out the dishwasher plug (do not skip this)
This is the one step beginners miss, and it floods kitchens. If a dishwasher will drain into your disposal, the dishwasher inlet on the new unit is sealed by a knockout plug. Tap it out with a screwdriver and the wrenchette and remove the loose plug from inside the unit before mounting. Skip this and your dishwasher has nowhere to drain, so it backs up into itself. If you do not have a dishwasher, leave the plug in place.
Hang the unit and connect the drain
Lift the disposal to the mount, line up the three tabs, and twist until it locks with a click. Use the manufacturer’s enclosed screws and gaskets rather than reusing the old ones; the box says to for a reason. Attach the discharge tube: a single sink usually runs straight down to the P-trap, while a double sink needs the horizontal extension tube routed to the shared trap. You may have to trim a tube to fit.
One warning here: do not cut thin-wall PVC with ratcheting PVC cutters, which crack it. Use a hacksaw or a PVC handsaw for a clean edge. Reconnect the dishwasher hose and the P-trap, and hand-tighten the slip nuts before snugging them.
Reconnect power
Plug the unit back in, or reconnect the wires if hardwired, and flip the breaker on.
Test for Leaks, Then Test the Motor
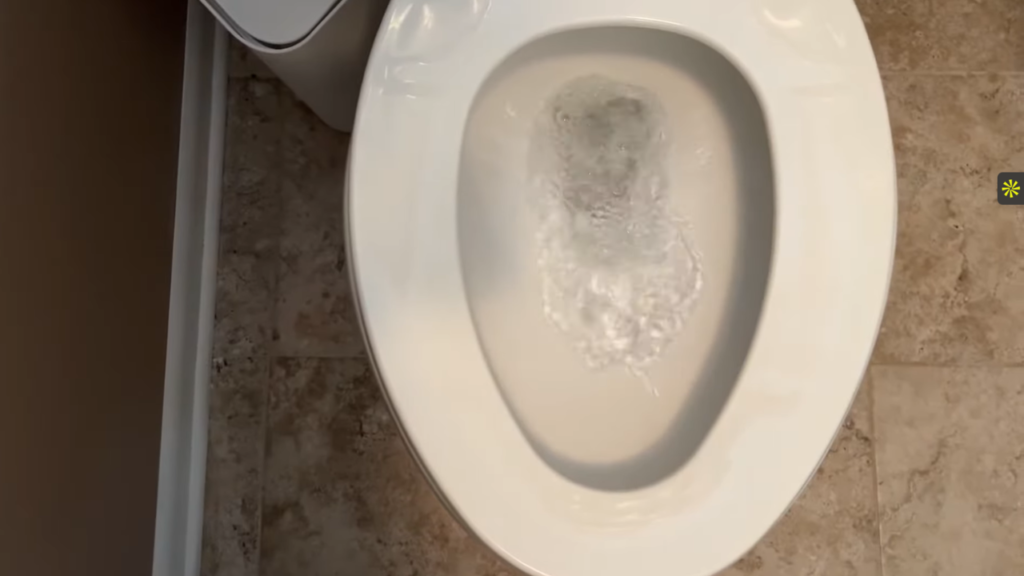
Before you turn the motor on, run water and watch every connection: the flange under the sink, the discharge tube, the P-trap, and the dishwasher hose. Fix any drip by snugging the nut a quarter turn. Once it is dry, run cold water, switch the disposal on, and listen. A smooth, quiet grind with no leaks means the job is done.
Common Mistakes to Avoid
- Forgetting the dishwasher knockout plug. The single most common flood-your-kitchen mistake.
- Reusing the old mounting screws and gaskets. New units include their own; old hardware causes leaks.
- Cutting thin PVC with ratcheting cutters. It cracks. Use a saw.
- Cross-threading the slip nuts. If a nut will not start, turn it backward first until it drops into the thread, then forward.
- Skipping the leak test. Always check for drips with water before running the motor.
When to Call a Plumber Instead
This is a safe DIY for most homeowners, but hand it off in these cases:
- The disposal is hardwired and you are not comfortable working with the wiring, or there is no existing power and switch under the sink at all. New wiring is an electrician’s job.
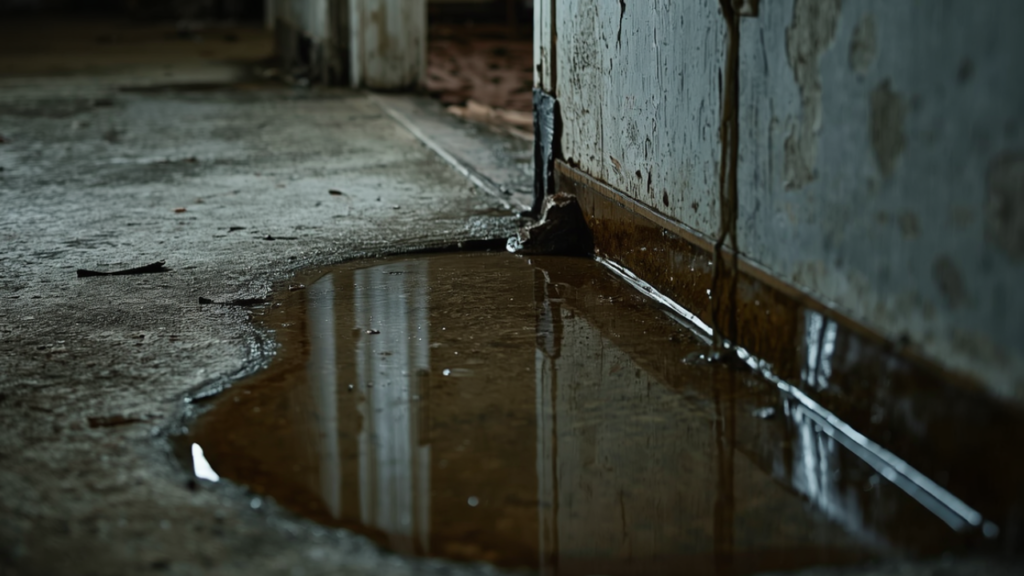
- Water keeps leaking after you have re-snugged every connection, which can mean a cracked drain arm or a worn trap.
- The same drain clogs again soon after the swap. A disposal does not cause a main-line clog; a repeat backup points to a drain or sewer problem, not the new unit.
That last one is where it stops being an appliance job. Nuflow DFW is a licensed Texas Master Plumber (RMP# 46694) serving the Dallas-Fort Worth area 24/7, and a recurring kitchen backup is exactly the kind of thing our drain cleaning service handles. If you find a persistent leak under the cabinet that you cannot trace, our water leak detection pinpoints it without tearing the kitchen apart. Call (469) 701-0597 or contact Nuflow DFW for a free estimate after on-site inspection.
How Much Does It Cost: DIY vs Professional
Doing it yourself costs only the unit, usually $80 to $180 (as of Q2 2026), plus an hour of your time. Hiring it out typically runs $250 to $400 all in, since a plumber charges for the unit plus labor. The DIY route saves the labor, which is the bulk of the bill, and the work is well within a beginner’s reach when wiring is already in place.
One last note on the unit itself: a disposal sends food into the wastewater system, and the EPA points out that preventing and composting food waste is more environmentally friendly than sending it down the drain{target=”_blank” rel=”noopener”}. Whatever you grind, keep grease, bones, and fibrous peels out to make the new disposal last.
Frequently Asked Questions
How long does it take to replace a garbage disposal?
Most replacements take about an hour for a beginner. If your new disposal uses the same mounting system as the old one, you can leave the sink mount in place and finish in 15 to 30 minutes. Plan extra time if you need to trim a drain tube or install a new mounting assembly.
What tools do I need to replace a garbage disposal?
You need a flathead and Phillips screwdriver, adjustable pliers, the mounting wrench that comes in the box, a bucket, and towels. Add plumber’s putty if you are replacing the sink flange, and a hacksaw or PVC saw in case a drain tube needs trimming. No specialty tools are required.
Can a beginner replace a garbage disposal safely?
Yes, if the sink already has wiring and a switch. The job is mostly disconnecting and reconnecting a drain and a plug, rated about a 2 out of 5 for difficulty. The main safety step is shutting off the breaker first. New wiring, or a hardwired unit you are unsure about, is a job for an electrician.
How do I replace a garbage disposal in a double sink?
A double sink uses the same steps, with one difference: instead of running the discharge tube straight down, you connect a horizontal extension tube that carries waste across to the shared P-trap. You may need to trim the tube to line up the connections. Cut it with a saw, not ratcheting PVC cutters.
Does a new garbage disposal need a GFCI outlet?
The National Electrical Code does not strictly require GFCI protection on a garbage disposal, though many electricians and newer local codes recommend it because the unit sits near water. If your under-sink outlet is not GFCI protected and you want to add it, have a qualified electrician handle the outlet or breaker.
Why does my new garbage disposal still leak or clog?
A leak after replacement usually means a slip nut needs snugging or a gasket was reused instead of replaced. A clog that returns is not the disposal’s fault; it points to a blockage deeper in the drain or sewer line. If re-tightening does not stop the leak, or the clog keeps coming back, call a plumber.