If you’re learning how to install a rain gutter, it’s important to understand why it matters in the first place. A rain gutter may seem like a small part of your home, but it plays a big role in protecting your property from water damage.
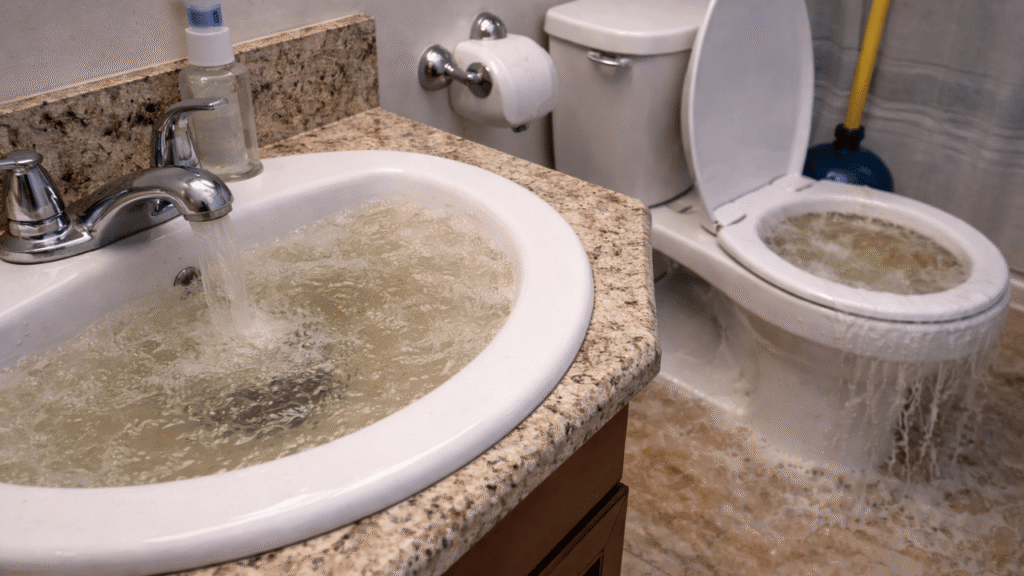
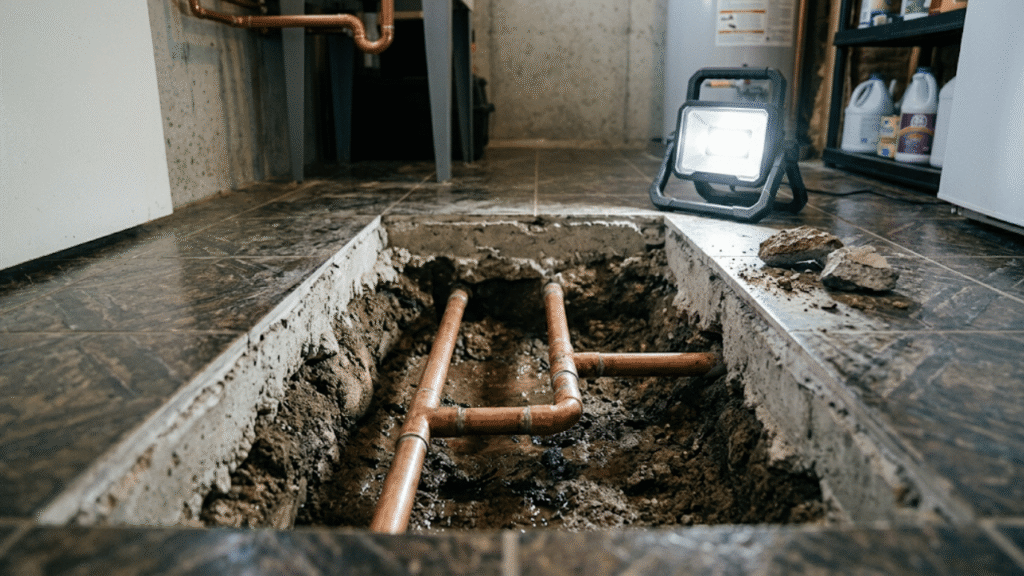
When it rains, water runs off your roof with force. Without a proper gutter system, that water falls straight to the ground around your house. Over time, this can weaken the foundation and cause cracks. Water pooling near the base of your home can also lead to basement leaks, especially during heavy storms.
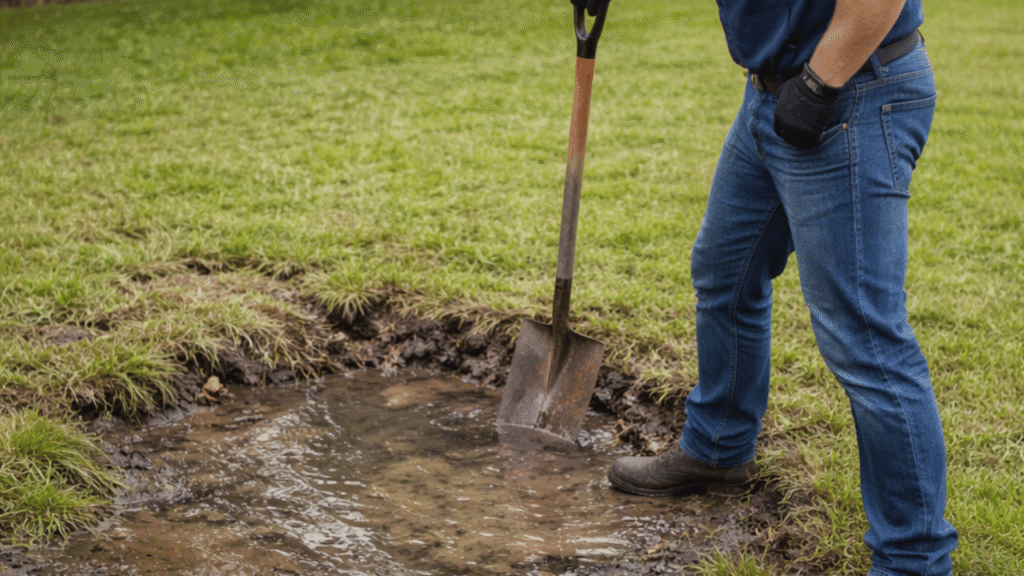
Rainwater hitting the soil can slowly wash it away, which leads to erosion around your home. This not only affects landscaping but can also expose the foundation. In addition, rainwater splashing against the exterior walls can stain siding and damage trim. Installing a rain gutter helps direct water safely away from your home, keeping everything dry and protected.
Tools and Materials Needed to Install a Rain Gutter
Before you begin learning how to install a rain gutter, make sure you have the right tools and materials ready. This will make the process easier and help you avoid delays.
Essential Tools
- Drill
- Level
- Chalk line
- Hacksaw or miter saw
- Measuring tape
Required Materials
- Gutter sections
- Downspouts
- Brackets or hangers
- End caps
- Screws or rivets
- Waterproof sealant
How to Install a Rain Gutter Step by Step
Now comes the most important part: learning exactly how to install a rain gutter the right way. Take your time with each step, measure carefully, and focus on proper alignment so water flows smoothly through the system.
Step 1 – Mark the Gutter Slope Line
Start by deciding where your downspout will go. The gutter needs a slight slope so rainwater can drain properly. A good rule is about ½ inch for every 10 feet of gutter. Mark the highest point near the roof edge and the lowest point toward the downspout. Use a chalk line to snap a straight guide between those points. This line will help you keep everything level while still allowing proper drainage.
Step 2 – Install Gutter Brackets or Hangers
Once the slope line is marked, install the brackets along the fascia board. Space them about 16 to 24 inches apart for strong support. Make sure each bracket lines up with your chalk line so the gutter follows the correct slope. Secure them tightly with screws into solid wood behind the fascia.
Step 3 – Cut Gutter Sections to Size
Measure the length of the roofline carefully before cutting. Use a hacksaw or miter saw to trim the gutter sections to the correct size. If you need multiple sections, make sure they overlap slightly so water does not leak at the joints. Always double-check your measurements before cutting.
Step 4 – Attach End Caps and Seal Joints
Before hanging the gutter, attach end caps to seal off open ends. Secure them firmly and apply waterproof sealant along the seams to prevent leaks. If two gutter pieces connect, seal the joint carefully to keep the system watertight. A properly sealed gutter helps avoid future repair issues.
Step 5 – Cut the Downspout Outlet Hole
Choose the lowest end of the gutter run for the downspout outlet. Mark the outline of the outlet fitting, then carefully cut the opening. Attach the outlet piece securely and seal around it to prevent dripping. This opening allows water to move from the gutter into the downspout.
Step 6 – Secure the Gutter to the Brackets
Place the gutter into the mounted brackets and lock it into position. Make sure it sits firmly and follows the slope line you marked earlier. Double-check that it feels stable and does not shift when lightly pushed.
Step 7 – Connect and Install Downspouts
Attach the downspout to the outlet fitting and guide it down along the wall of your home. Use brackets to secure it in place every few feet. At the bottom, angle the downspout away from the foundation so water drains safely away from your home. Proper placement ensures your newly installed rain gutter system protects your foundation effectively.
Common Mistakes to Avoid When Installing Rain Gutters
When learning how to install a rain gutter, avoiding a few common mistakes can save you from repairs later. A properly installed system should drain smoothly and stay securely attached for years.
Not Adding Enough Slope
- Water may sit inside the gutter instead of flowing out.
- Standing water can cause sagging over time.
- Poor drainage reduces the life of the gutter system.
Spacing Brackets Too Far Apart
- Gutters may bend during heavy rain.
- Sections can pull away from the fascia board.
- Lack of support leads to uneven alignment.
Poor Sealing of Joints
- Small gaps can cause slow leaks.
- Water may drip behind siding or trim.
- Weak seals increase the risk of long-term damage.
Wrong Downspout Placement
- Water may collect near the foundation.
- Poor drainage can lead to soil erosion.
- Basement moisture problems may develop over time.
Taking your time and paying attention to these details will help ensure your rain gutter system works properly and protects your home.
How to Maintain Your Rain Gutter After Installation
Once you learn how to install a rain gutter, proper maintenance is what keeps it working for years. Clean your gutters at least twice a year, especially after fall and heavy storms, to remove leaves and debris that can block water flow. Take a few minutes to check the joints and seams to make sure they remain sealed and secure. If you want to reduce future cleaning, installing gutter guards can help prevent clogs and keep your system running smoothly with less effort.
Conclusion
Learning how to install a rain gutter may seem like a big project at first, but with proper planning and careful installation, it can be a rewarding DIY improvement. A well-installed rain gutter system protects your foundation, prevents basement leaks, reduces soil erosion, and keeps your siding and trim safe from water damage.
By following the right steps and avoiding common mistakes, you can ensure your gutter system works efficiently for years. Regular cleaning and maintenance will also help extend its lifespan and prevent future problems.Contact Nuflow DFW for reliable service and guidance to keep your home safe and protected.